Learning how to comb hair properly takes about ten minutes twice daily and one swap most people never make: the material of the comb itself. Plastic and metal build friction and static that frizz and weaken strands, while wood or horn glide through with less resistance and never heat up mid-pass. The real damage happens when people reach for a fine-toothed comb on wet, swollen hair, a stage where only wide teeth belong.
1. Choosing the Right Comb
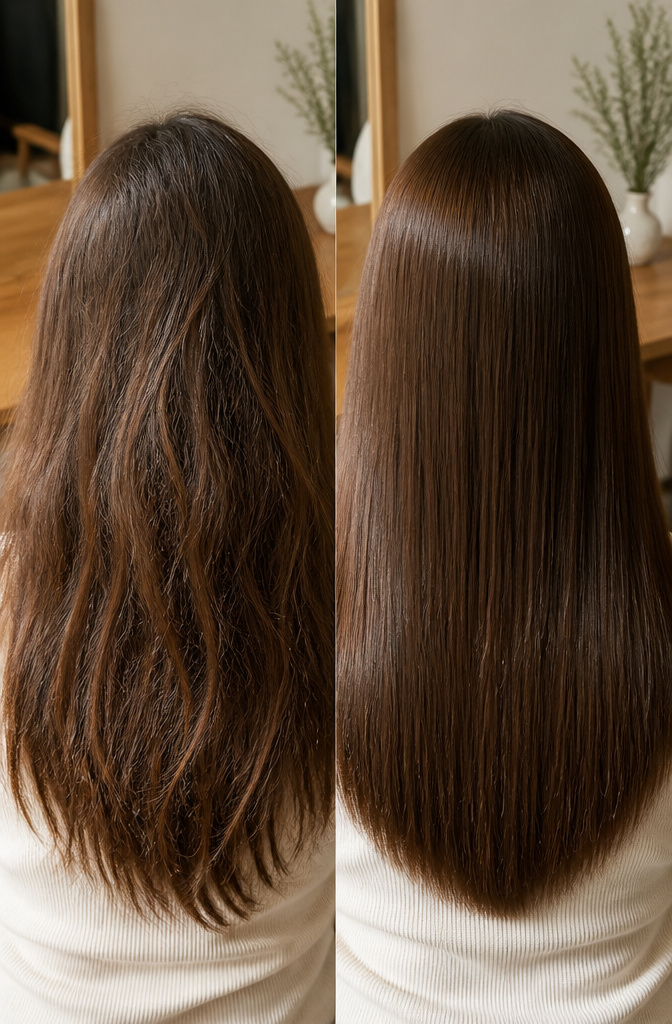
The material of your comb matters more than most people realize. Plastic and metal combs create extra friction and static, which leaves hair frizzy and harder to manage. Natural materials like wood or horn glide through strands with less resistance, and they do not heat up the way metal does. A horn comb with fine teeth, around 3 mm, can smooth the cuticle and help hair hold its shine rather than drying it out.
For wet hair, a wide-toothed comb is the safer choice. It works through tangles gradually without snapping strands the way a fine-toothed comb might when hair is swollen and fragile. Save the fine-toothed comb for dry hair, when you are polishing a finished style rather than fighting knots. If you keep both on hand, you are covered from shower to final smoothing without forcing one tool to do a job it was not built for.
2. Pre-Comb Brushing
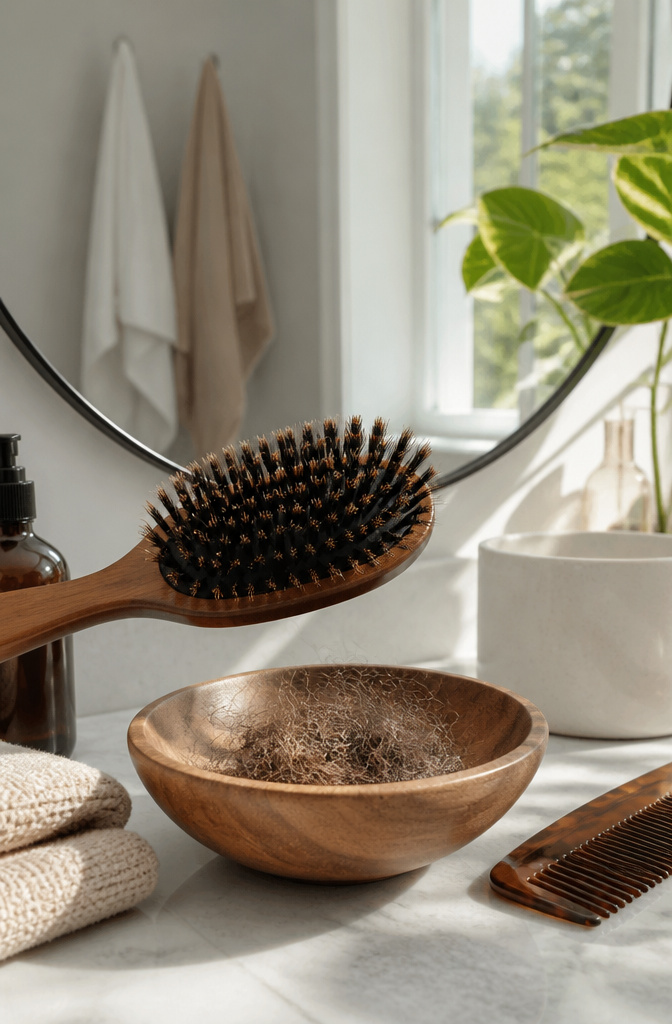
A boar bristle brush is the right first move before you ever touch a comb. The stiff, densely packed bristles grab dust, lint from cotton sheets or clothing, and the surface oils that have collected since your last wash. That layer of grime is what makes combing feel draggy later, and brushing it off now means the comb glides through cleaner hair.
This step also loosens any shed strands that are ready to fall. Most of us lose somewhere between 50 and 100 hairs a day, and brushing catches them before they tangle around the comb teeth. The bristles pull sebum down the length of the shaft too, which gives you a smoother surface to work with.
I skip this when I am in a rush, and I always notice the difference. The comb catches sooner, and I end up working harder than if I had spent thirty seconds with the brush first. Brush first, then comb is not extra work; it is the work done right.

Easily detangle wet or dry hair
3. Detangling from the Ends Up
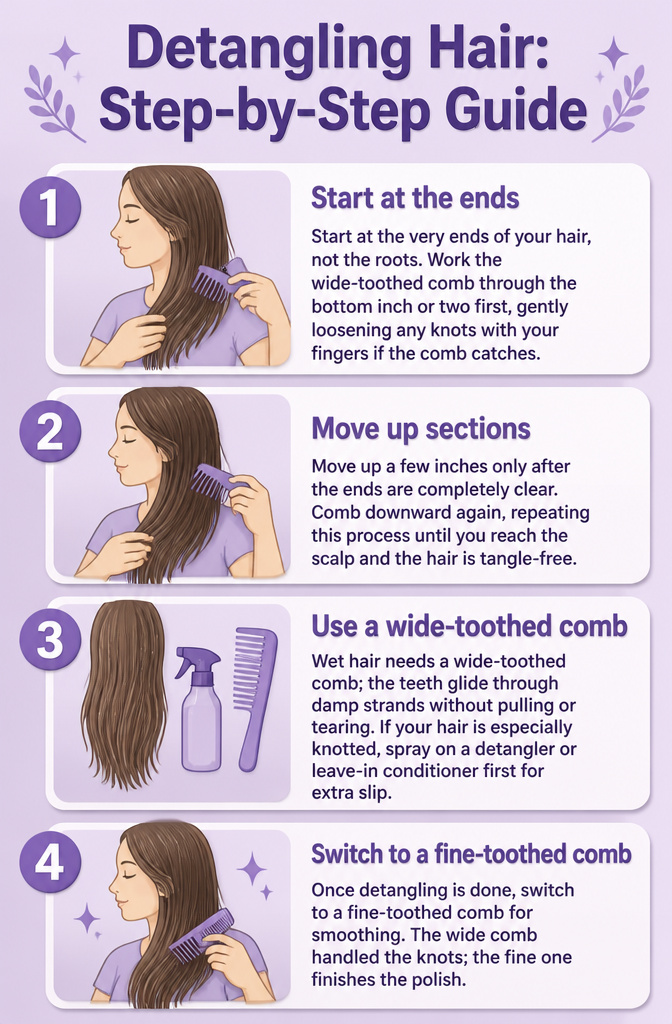
- Start at the very ends of your hair, not the roots. Work the wide-toothed comb through the bottom inch or two first, gently loosening any knots with your fingers if the comb catches.
- Move up a few inches only after the ends are completely clear. Comb downward again, repeating this process until you reach the scalp and the hair is tangle-free.
- Wet hair needs a wide-toothed comb; the teeth glide through damp strands without pulling or tearing. If your hair is especially knotted, spray on a detangler or leave-in conditioner first for extra slip.
- Once detangling is done, switch to a fine-toothed comb for smoothing. The wide comb handled the knots; the fine one finishes the polish.
4. Smoothing for a Polished Look
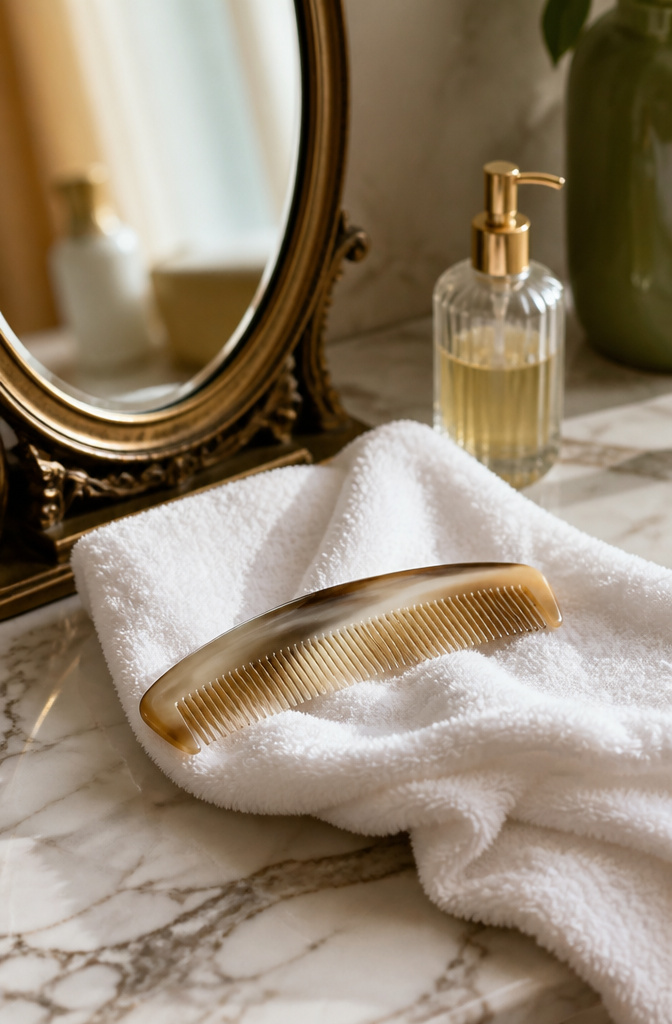
Once the tangles are out, a fine-toothed comb gives hair that finished, polished look. I reach for one with teeth spaced around 3 mm apart for this last pass. The horn material matters here more than you might expect. Unlike metal, it does not heat up as you work it through your hair, so there is no risk of weakening the strands or drying them out. The cuticle lays flat, which keeps the shine in and the frizz out. Your hair keeps its proteins and vitamins where they belong, and the result is silkier hair that actually looks healthy.
This smoothing step is not mandatory for every style. Some days I skip it if I am going for something more textured. But when you want that clean, put-together finish, a horn comb with fine teeth is the tool that gets you there without damage.
5. Daily Combing Routine
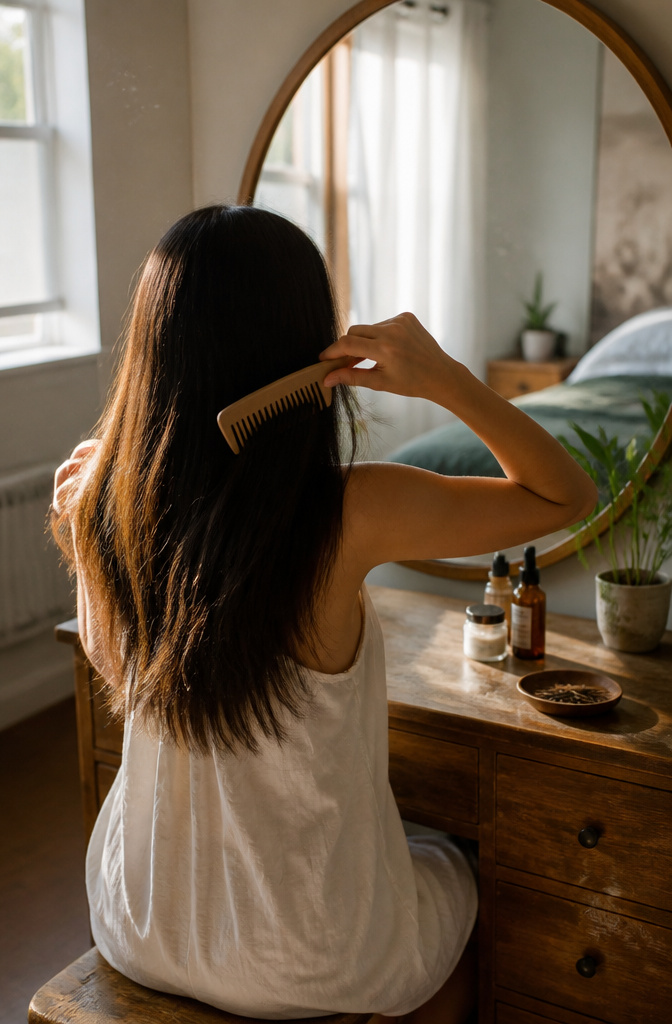
Long hair benefits from a twice-daily rhythm, about ten minutes each round. Smooth, gentle movements carry the natural oils from root to tip, which is what gives that lived-in shine without extra product. The scalp gets a light massage in the process, and the blood flow that follows is a quiet plus for growth.
Patience matters more than pressure. Work from the ends upward when tangles show up, and let the comb do the work rather than forcing it. Ten minutes, twice a day is the sweet spot: enough to distribute sebum and clear loose strands, not so much that you risk breakage from overhandling. If you’re rushing, you’re probably pulling. Slow down, and the hair thanks you for it.

SALON QUALITY TAIL COMB: Professional Grade, Durable and Built to Last!
6. When to Comb After Washing
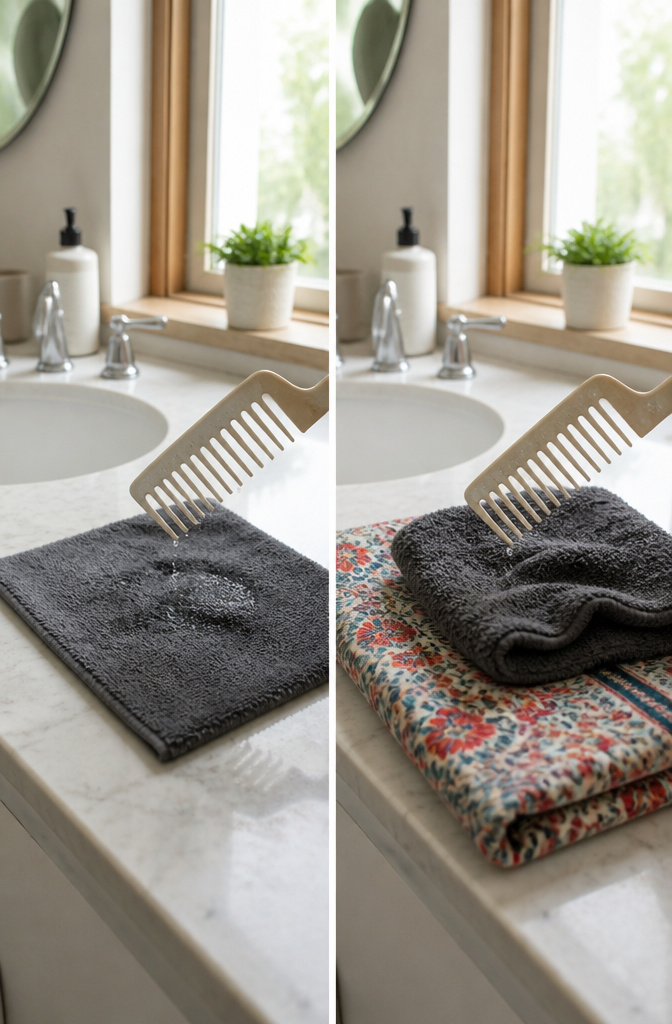
Hair is at its most fragile right out of the shower, so waiting until it’s less wet before combing is one of the simplest ways to prevent breakage. I used to run a comb through mine the second I stepped out, thinking I was getting a head start on tangles. What I learned is that wet hair stretches more than dry hair, and that extra elasticity means strands snap under tension they’d normally survive.
If you need to do something with it right away, blotting with a microfiber towel helps. Air-drying for about ten minutes is even better. The goal isn’t bone-dry hair, just damp enough that it’s regained some of its normal strength. Once you’re there, a wide-tooth comb or a brush designed specifically for wet hair is the safer choice. Dry brushing gives you more options and less risk, but life doesn’t always wait for full dryness. When it doesn’t, patience for those first few minutes pays off.
7. Side Part
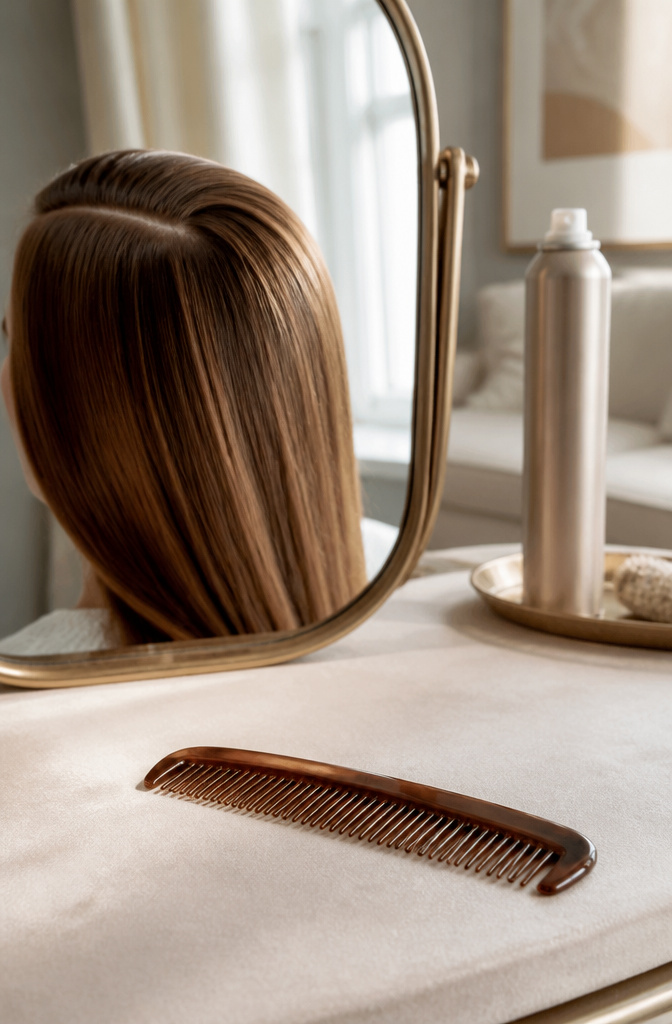
A side part is the most common styled look you can build with just a comb, and the placement matters more than most people think. Align the comb with the arch of your eyebrow, then pull it in a straight line toward the back of your head. Brush sideways so the bulk of your hair falls away from your face. That eyebrow arch is the sweet spot; go too far toward the center and the part looks forced, too far toward the temple and it can throw off your face’s balance. Once the part is set, a light mist of hairspray keeps it from drifting by noon. I find this works on pretty much any length, though it really sings when there’s a bit more length on top to sweep over.
8. Slicked-Back Style
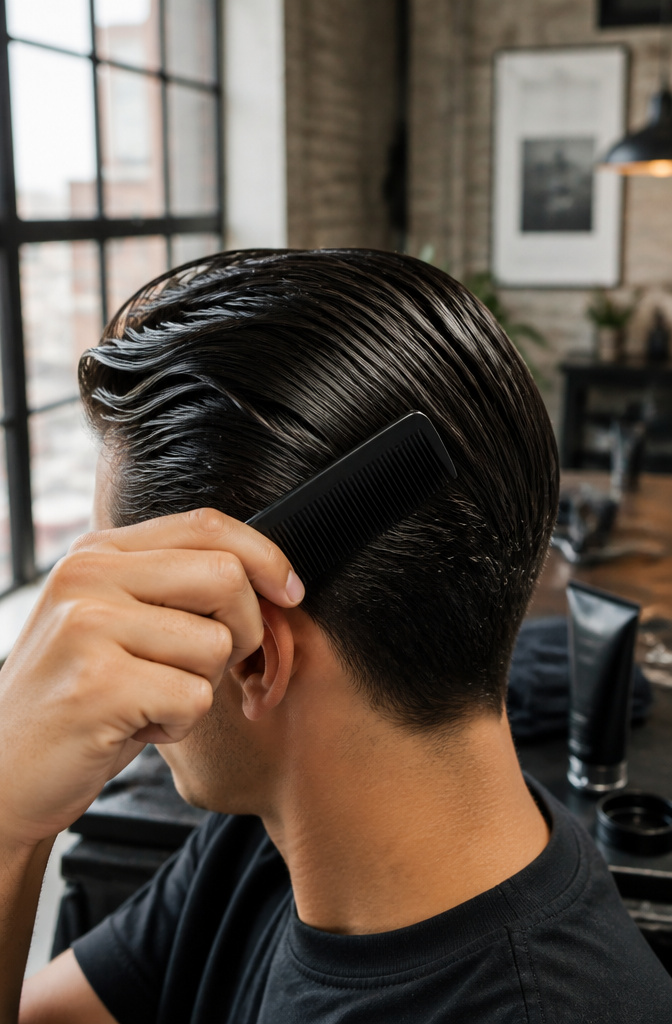
A slicked-back style is one of the fastest ways to get hair out of your face and look intentional doing it. The comb’s job here is direction, not decoration: you’re creating a clean path backward from the hairline, and the product does the actual holding.
I start by running a comb straight back from the forehead, working through any knots first so they don’t fight the direction later. Once the hair lies smooth, I apply gel at the roots, then comb backward again to spread it evenly. The L’Oréal Paris Advanced Hairstyle LOCK IT Clean Style Gel works well for this, though any gel with real hold will do the same job. The top and sides both need attention; add more gel where the hair resists lying flat, and comb through a second time while the product is still workable.
The style sets as the gel dries, so keep the comb moving until you’re happy with the surface. Too much product near the crown turns greasy by midday, so I keep the heaviest application closer to the front where the hold matters most.
9. Messy Bedhead
A little hair putty and a wide-tooth comb can turn morning chaos into something intentional. I warm a small amount between my palms first, then run my fingers through dry hair to distribute it. The comb does the real work after that. Instead of dragging it straight back like I’m trying to flatten everything out, I lift sections and pull the comb through in different directions. Up at the crown, off to one side, maybe back at the nape. The teeth separate the strands just enough to create separation and lift without flattening the texture your pillow already started.
It takes under five minutes, and the whole point is that it shouldn’t look finished. The comb gives you control over where the mess lands so it reads as styled rather than slept-on. I skip this if my hair’s still damp; the putty grips differently on wet strands and the separation turns clumpy instead of piecey. Dry hair, small amount of product, and a comb used as a lifting tool rather than a smoothing one. That’s the difference between bedhead and just messy.
10. Spikes
Spikes need direction before they need product. Comb your hair in the direction the spikes will go, using your fingers and the comb together to lift and angle the strands. This sets the foundation; the styling matte just locks that angle in place.
For smaller, tighter spikes, a fine-toothed or jagged comb gives you the control to group narrow sections and point them upright. Larger, more dramatic spikes call for a wide-toothed comb that handles bigger chunks of hair without breaking up the shape you’re after.
Work the matte in after the comb has done its job. The comb creates the architecture; the matte is the reinforcement. Skip the comb step and you’re just pasting product onto flat hair, hoping it will defy gravity on its own.
11. Curly Hair Care
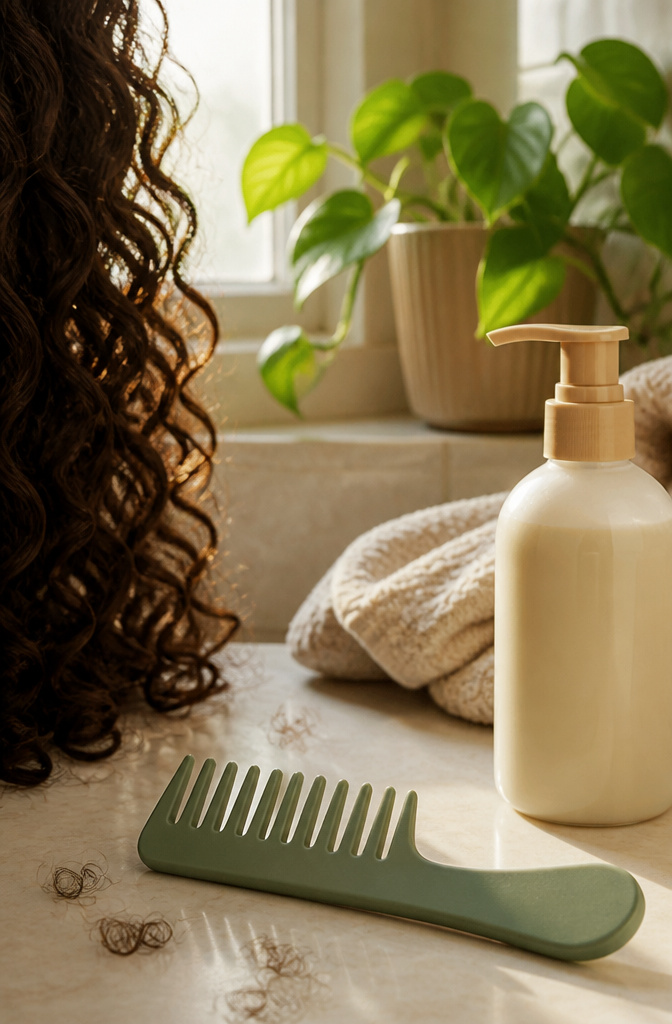
Curls need a gentler approach than straight hair, and the tool you reach for matters more than most people realize. A wide-toothed comb is the only kind that belongs near textured hair; fine teeth catch on knots and snap strands before you even feel the resistance. Plastic builds static, so rubber or wood are the safer bets, especially when the hair is wet.
The real mistake is combing curls dry. Water and conditioner together give the slip that lets the comb glide through without pulling the curl apart. Work a detangling product or a generous amount of regular conditioner through damp hair first, then start at the ends and move upward in small sections. Your fingers can loosen the worst knots before the comb ever touches them. Dry combing forces the curl pattern open and invites frizz that no amount of product will fully smooth back down.
What Combing Does for Hair Health
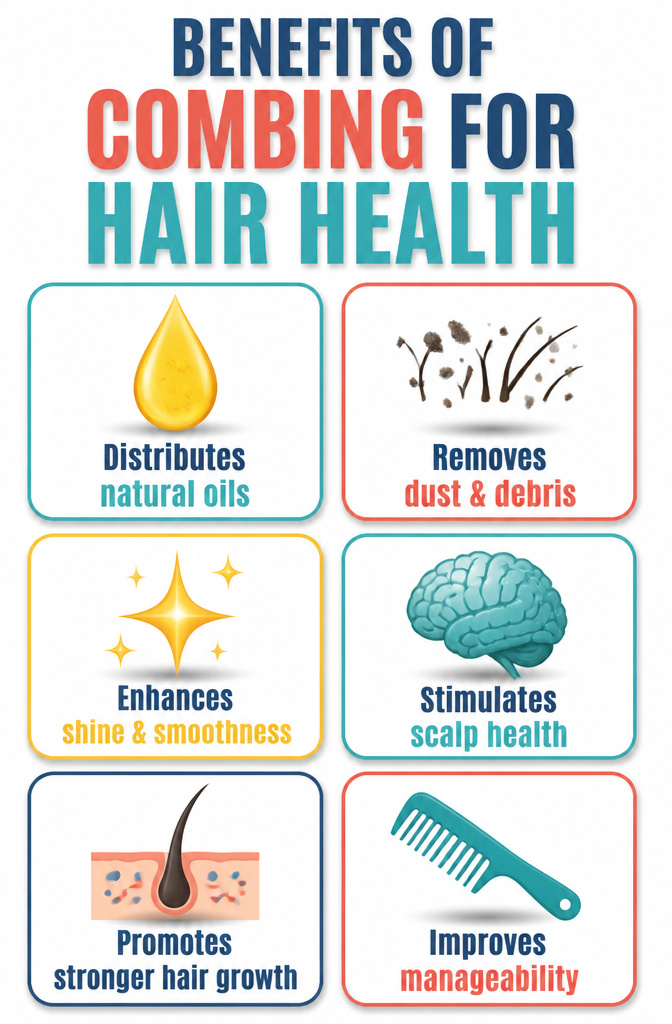
Combing does more than tidy your hair. Each stroke pulls sebum from the scalp down the length of the strand, which is what gives hair its smoothness and shine. Without that distribution, ends stay dry and prone to splitting while the roots look greasy.
The bristles also lift away dust and debris that dull the surface. Clean strands reflect light better, so the shine you get isn’t just from the oil; it’s from a cleaner cuticle, too.
Then there’s the scalp itself. Gentle pressure against the skin dislodges dead cells and increases circulation. That stimulation encourages the scalp to keep producing healthy oil levels and, over time, supports stronger growth from the follicle. It is a small daily massage with measurable payoff.
I used to rush through combing as a quick detangling step until I noticed my ends stayed brittle no matter what conditioner I used. The change came when I slowed down and worked the comb from root to tip deliberately. The difference in how my hair laid and caught light was visible within a couple of weeks.
Wet Hair vs. Dry Hair
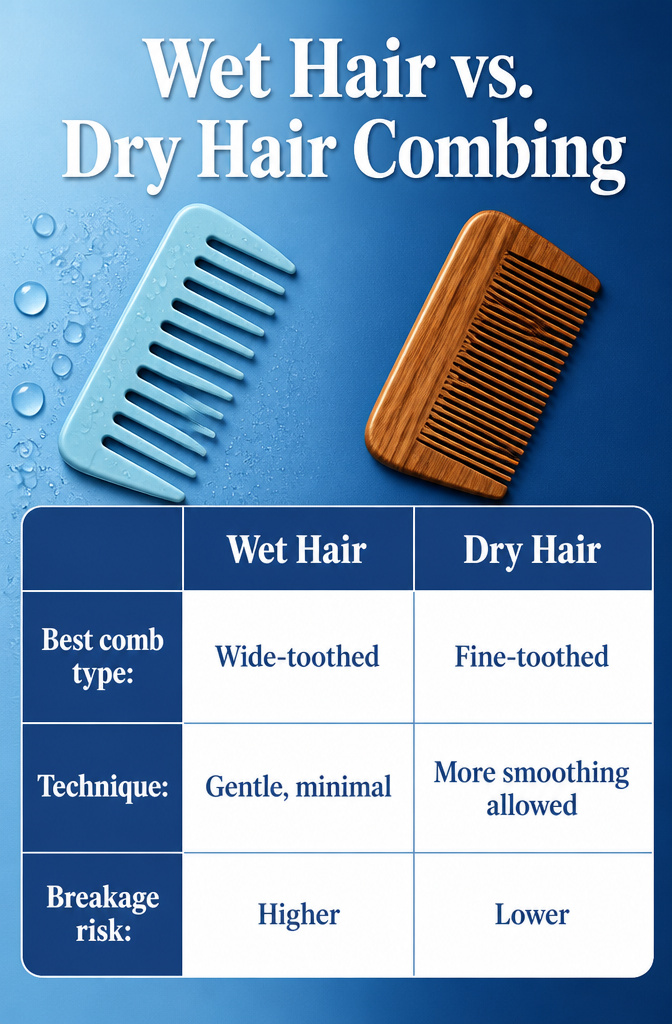
Wet hair is in its most fragile state, which is why a gentler approach matters. A wide-toothed comb is the only tool that belongs near it, and even then you will want to sop up as much water as possible first with a microfiber towel or give it ten minutes of air-drying. Dry hair can handle finer teeth and more smoothing pressure without the same breakage risk.
| Wet Hair | Dry Hair | |
|---|---|---|
| Best comb type | Wide-toothed | Fine-toothed or wooden |
| Technique | Gentle, minimal pulling | More smoothing allowed |
| Breakage risk | Higher | Lower |
I still reach for a wide-toothed comb when my hair is damp, even though dry brushing gives me smoother results faster. The tradeoff is worth it: a few extra minutes of patience beats dealing with the breakage that comes from dragging fine teeth through saturated strands.
Combing by Hair Type
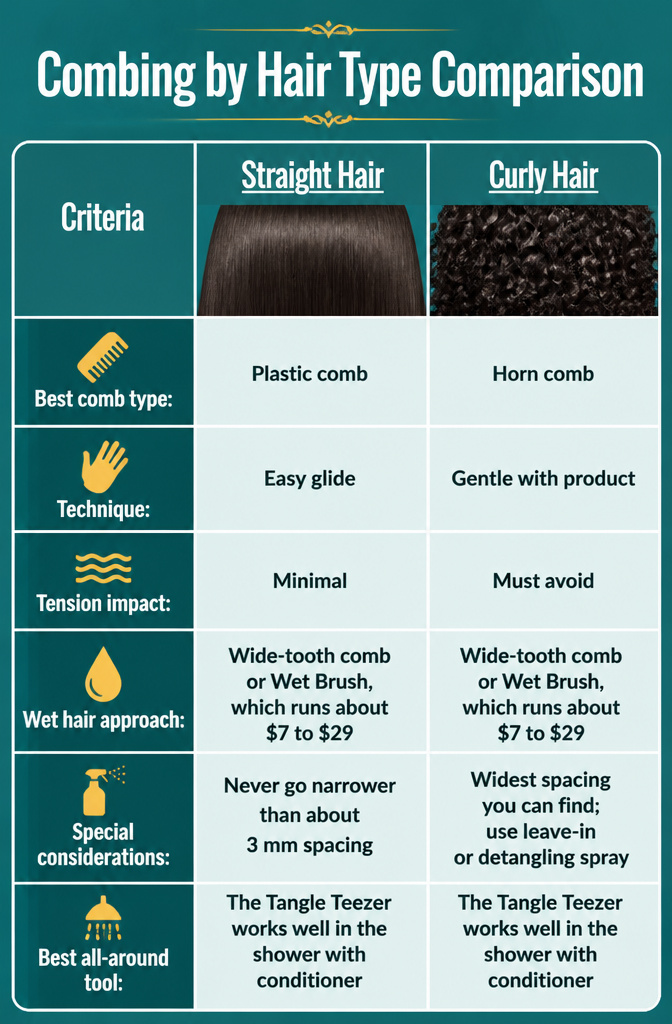
Straight hair is the most forgiving, but fine strands still snap under a stiff comb. A plastic comb with teeth spaced about 3 mm apart glides through without pulling. Thicker straight hair can handle something sturdier, though I would not go narrower than that same spacing. Wet hair changes the math for everyone. A very wide-tooth comb or a Wet Brush, which runs about $7 to $29, is the only way I would touch damp strands. Wavy hair sits in the middle: too much tension straightens the wave out, so fingers first, then a wide comb, working from the ends upward. Curly and coily hair need the widest spacing you can find, and product before the comb ever touches it. A leave-in conditioner or detangling spray adds the slip that keeps curls intact. Horn combs remove static and match keratin to keratin, which matters when you are dragging a tool through fragile, coiled strands. Start at the tips, move up gradually, and never force a tangle. The Tangle Teezer works well in the shower with conditioner for any type that mats up easily.
Frequently Asked Questions
How often should I comb my hair?
Ten minutes, twice a day is the sweet spot for long hair. That rhythm distributes the scalp’s natural oils along the full length of each strand and gives the scalp a light massage that supports circulation. Going longer or pulling harder does not add benefit and can lead to breakage from overhandling.
What type of comb should I use?
Use a wide-toothed comb for wet hair and a fine-toothed comb for dry hair. Wet strands are swollen and fragile, so the wider spacing works through tangles gradually without snapping them. Once hair is dry, a fine-toothed comb, ideally around 3 mm spacing and made of horn or wood rather than plastic or metal, gives a polished finish and avoids the static and friction that dull the cuticle.
Should I comb my hair wet or dry?
Dry is safer, but damp with the right tool works when you are pressed for time. Wet hair stretches more than dry hair and snaps under tension it would normally survive, so waiting even ten minutes of air-drying helps. If you must comb sooner, blot with a microfiber towel first and stick to a wide-toothed comb or a brush built specifically for wet hair.
How do I create a side part?
Align the comb with the arch of your eyebrow and draw a straight line toward the back of your head. Brush sideways so the bulk of your hair falls away from your face. That eyebrow arch is the balance point; too far toward the center looks forced, too far toward the temple throws off your proportions. A light mist of hairspray locks it in place.
What is the best way to detangle hair?
Start at the very ends, not the roots, and work upward in sections. Loosen the bottom inch or two first with a wide-toothed comb, using your fingers for any knots the comb catches. Move up only after the section below is completely clear. For extra slip on stubborn tangles, spray on a detangler or leave-in conditioner before you begin.