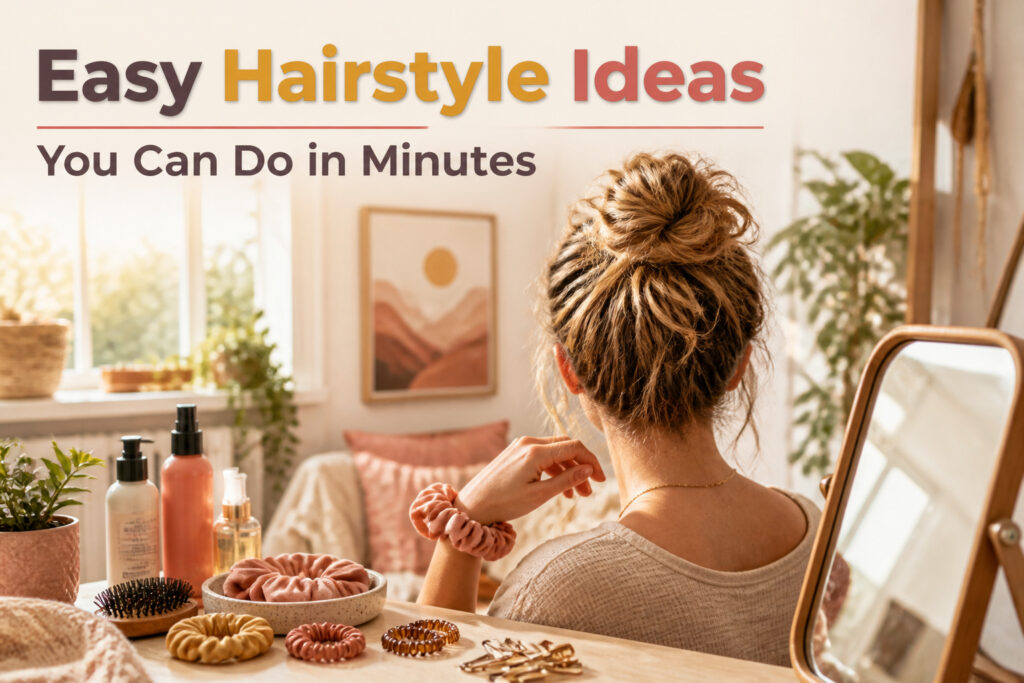
The styles below run from a thirty-second claw clip twist to a fishtail braid that demands more patience, so the deciding factor is how many minutes you actually have and whether your arms are still sore from yesterday’s workout. A bubble braid burns through more elastics than you expect, while a perky ponytail only works if you tilt your head back before you gather, a small angle that keeps the crown from flattening by noon.
1. Easy Spiked Bun
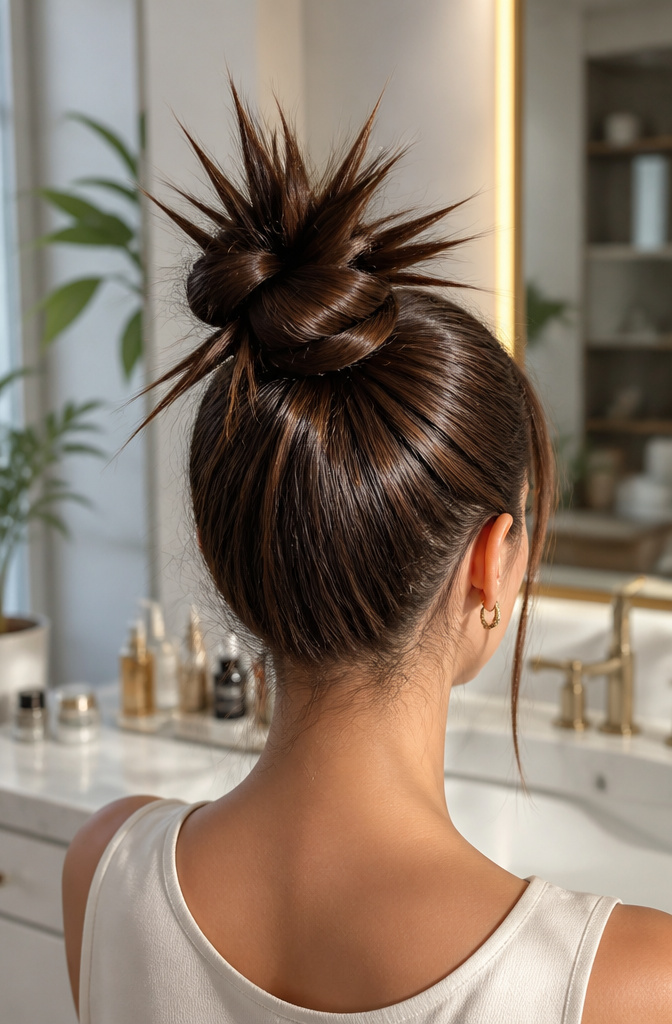
A spiked bun reads as intentional architecture, not bedhead, and that difference comes down to how you build the crown. I start by backcombing just the top section with a fine-tooth comb, pressing down toward the scalp in half-inch increments until the base holds its own height. Too much teasing past the midshaft and you lose the clean lines that make this style look polished rather than undone.
Once the lift is there, I pull everything into a ponytail where I want the bun to sit, usually high enough that the volume flows straight into the twist. The key move is pulling the hair through the elastic only partway to form a loop, then folding the remaining length back and pinning it so the ends fan out into those structured spikes. Strategic bobby pin placement lets you angle each spike exactly where you want it instead of letting them scatter.
A strong-hold hairspray locks the shape without stiffening the texture. The finished bun should look like you meant every angle, not like a messy bun that got away from you.

✿FEATURE:tortoise claw clip gives you quick styling solutions, no-slip grip, and does not feel heavy on your head. Gracefully receive compliments by creating a variety of...
2. Half Up, Half Down
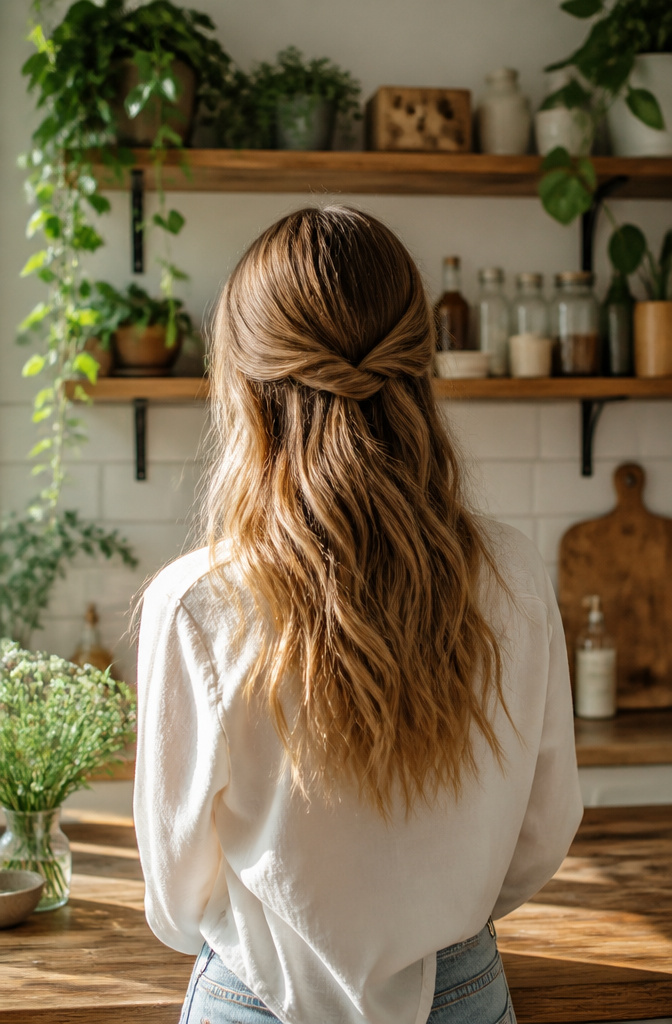
A half-up, half-down twist pulls back just enough hair to keep it out of your face without looking like you’re trying too hard. Start with two one-inch sections from either side of your part, twist each into a loose rope, and bring them together at the back of your head. Secure with a clip or small elastic.
This one works on shoulder-length hair and longer, which is where I’ve found it most useful. When my hair hits that awkward growing-out phase, this style keeps the front pieces contained without requiring the length for a full ponytail. You can pin the twists flat for something polished or let them sit slightly raised for more volume at the crown. Either way, the back stays loose and the whole thing takes under two minutes.

SALON QUALITY TAIL COMB: Professional Grade, Durable and Built to Last!
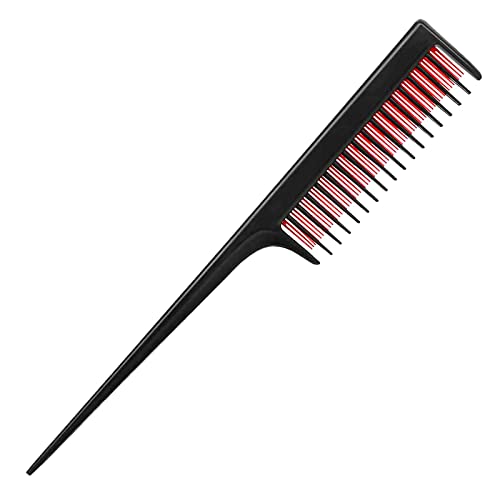
Design: This tail comb is designed to cater to those with thin, fine, and normal hair types. It features 3 rows of teeth that provide 3 times the volume, making it perfect for backcombing, teasing, sectioning, and finishing hair. The multi-length tooth and tail comb design allow for fast and easy parting, making it a versatile styling tool

Easily detangle wet or dry hair
3. Beginner Space Buns
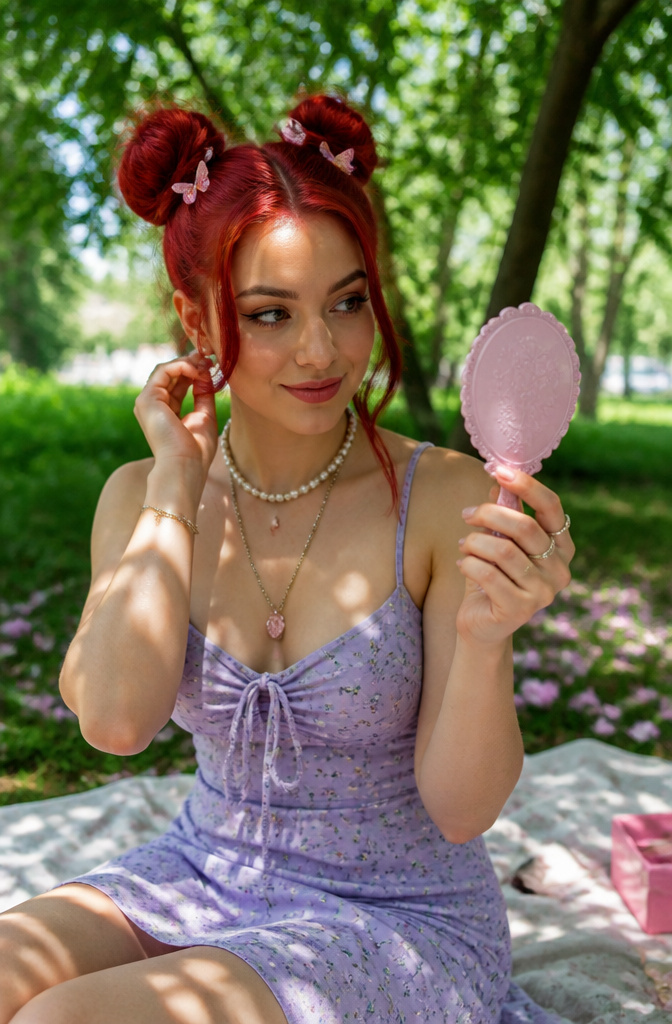
Space buns look tricky until you realize they are just two high pigtails twisted into buns. The part is what makes or breaks the look, so split your hair straight down the middle from forehead to nape and check the back with a second mirror. Uneven placement sits wrong all day, and there is no hiding it once the buns go in.
Clip one side up while you work the other. Twist the free section at the crown, just beside your part, and coil it into a bun without yanking the scalp tight. Secure with a hair tie first, then add bobby pins for shape. Repeat on the second side, matching the height and angle as closely as you can. A light mist of hairspray keeps texture in place without the greasy finish that heavier products leave behind.
Butterfly clips or a few rhinestones tucked at the base turn the look playful if you are heading out. For everyday wear, plain buns hold up fine on their own.

STYLISH AND VERSATILE DESIGN: Elevate your hairstyle with these Kitsch Spiral Hair Pins. These hair pins are perfect for both casual and formal occasions. The rich brown color blends seamlessly with various hair tones, enhancing your overall appearance with a chic and polished finish.

Brown Bobby Pins and Bun Bobby Pins Set: Come with bobby pins brown hair and u shape bobby pins and hair bands, 3 diffrent hair accessories in one package. 50* 2'' bobby pins +50* 2.75'' large bobby pins +50* 2'' bun bobby pins+ 50* 2.36'' hair pins +100* clear hair bands. Meet almost all needs for hair styles

Material: made of metal and rhinestone, they can serve you for a long time due to their durability
4. Perky Ponytail
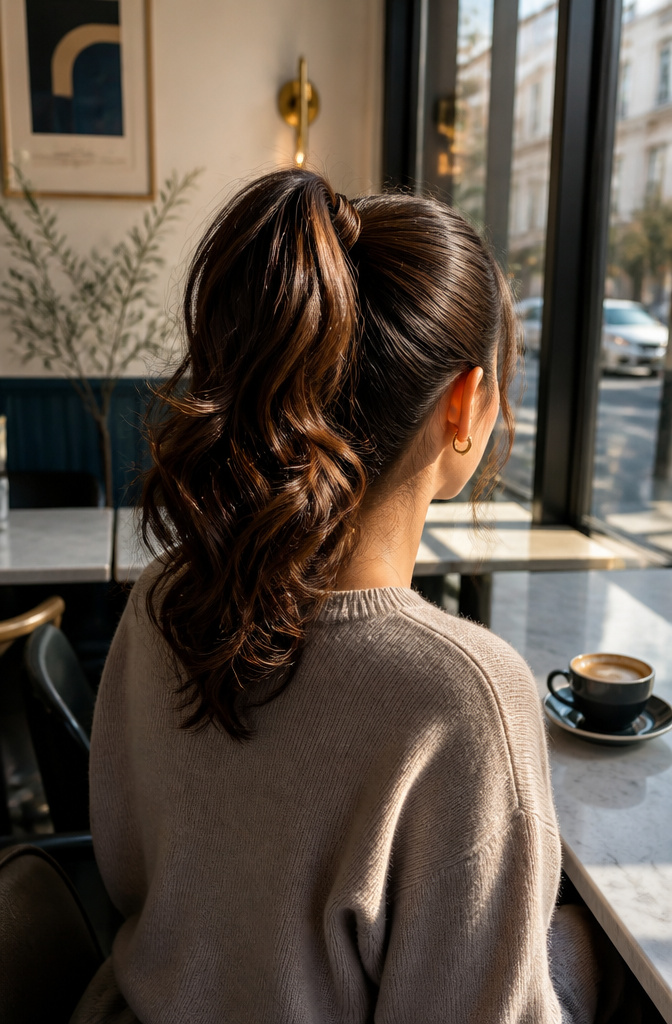
Tilt your head back before you gather your hair. It sounds minor, but that angle keeps the crown from flattening out once the tie goes in. I learned that the hard way after too many ponytails that sagged by noon.
A small styling serum tames flyaways and adds enough grip so the lift actually stays put. Work it through, then gather high and secure with a small hair tie. The real finish comes from wrapping a thin section of hair around the elastic itself. Pin it underneath with a bobby pin or two, and the whole thing looks intentional rather than like you ran out the door. A quick curl through the ends with an iron gives the ponytail bounce, though straight works fine if that is more your speed.
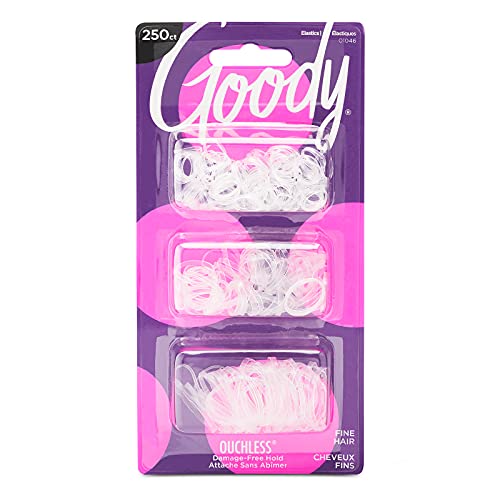
Goody Polyband Elastics: These small But mighty latex elastics let you effortlessly style your hair into cute ponytails, braids, and buns. They hold your hair securely, ensuring all-day wear, and slide right off without any pulling or snagging

GOODER THAN GOOD... IT'S GUMI: Gumi clear small elastic hair bands, small elastic hair bands, the epitome of quality and style. Elevate your hair game with these superior bands.

20 Pieces large black cotton hair ties: stretch bands rope ponytail holders headband are good for thick heavy and curly hair
5. Braided Front Pieces
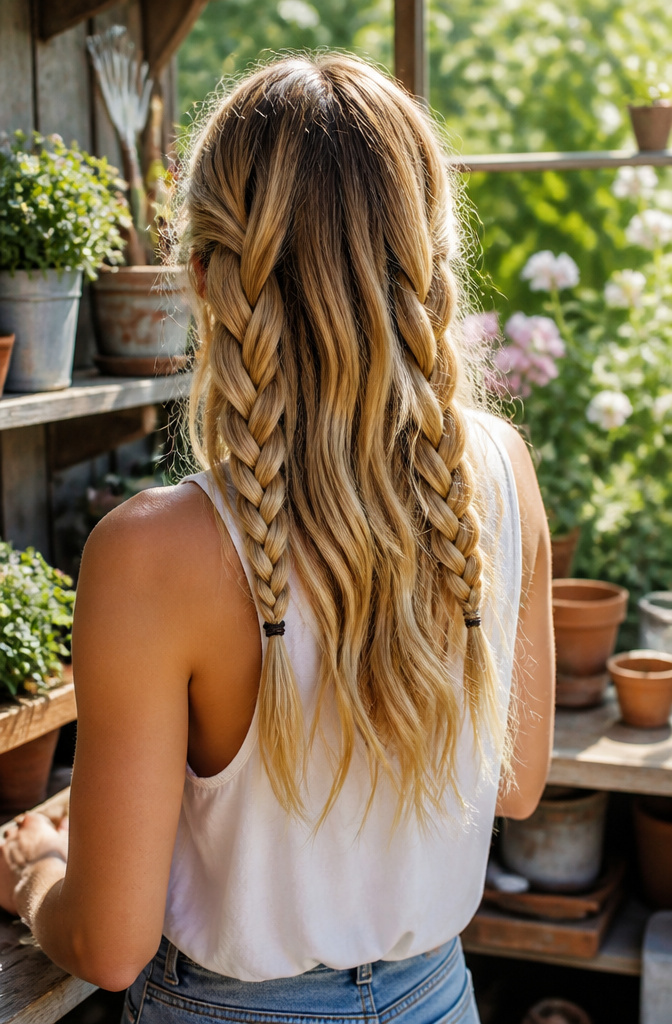
Small braids taken from the hairline solve the problem of wanting your hair out of your face without committing to a full updo. I like this style on second or third-day hair because the braids hide oil at the roots while the rest hangs loose.
Start with a styling cream to keep flyaways smooth, then take the face-framing pieces from each side and braid them back. You have two ways to finish. Secure each braid behind your ear with a pin or small elastic and leave the rest down, or pull both braids into a half-up ponytail or small messy bun. The half-up version works well if you want a little more polish: bring the ponytail only halfway through the elastic, then use a few bobby pins to shape the loop into a bun.
For a softer look, keep the braid edges loose rather than tight. A quick spritz of hairspray on those edges will hold them in place without looking stiff. If the rest of your hair needs life, dry shampoo at the roots and a texturizing spray through the lengths takes about thirty seconds.
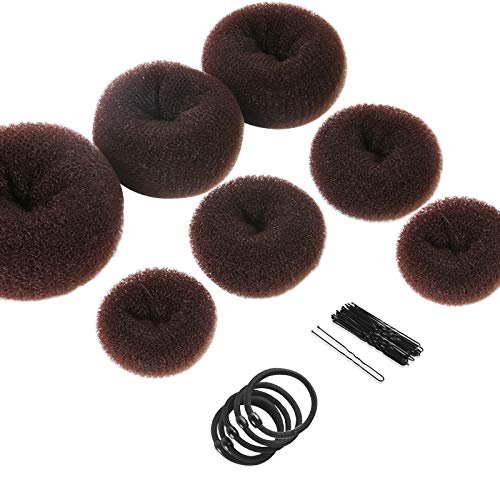
Multiple Sizes: Available in 4 sizes (Extra-large, Large, Medium, Small), The small size fits for children and people with thin hair. The medium and large size fit for adult and people with thick hair and Extra large fit for adult and people with thick and long hair

Perfect size range, suitable for thick or fine hair: Extra Large: 11 cm, Large: 9 cm, Medium: 8 cm, Small: 6 cm, multiple sizes available, suitable for the whole family, different sizes are more suitable for different girls depending on the amount of hair and head size

Adorable and colorful design: the patterns are different from each other, including unicorn, rainbow, mermaid candy, donuts, ice cream, watermelon, owl, candy, pineapple, dog, flamingo, avocado, coffee, alpaca and leaves, the colors are so bright, like blue, pink, light green, orange, yellow, and more, you can match different colors according to your daily clothing
6. Claw Clip Updo
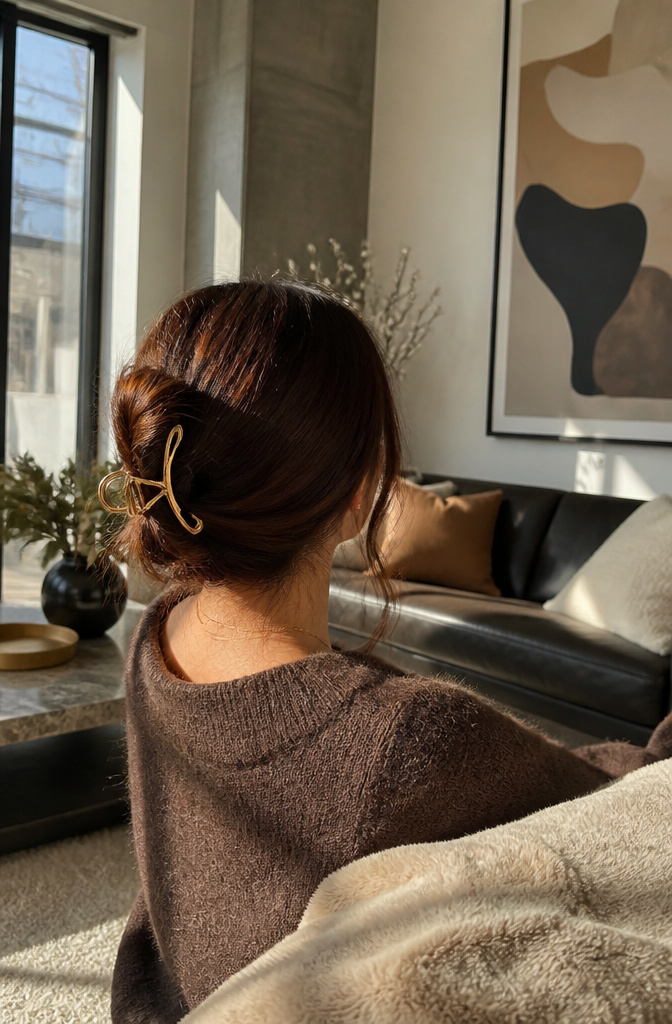
A claw clip updo is one of those styles that looks like you tried harder than you actually did. I start by raking mousse through my hair for volume and texture, which keeps the twist from falling flat against my head. Then I gather everything at the nape of my neck, twist the lengths upward, and secure the whole thing with a large clip.
Where you place the clip changes the look completely. Securing it higher on your head adds volume and keeps the style from feeling too office-drab. If your hair is longer, you can tuck the ends under for a neat chignon shape, or leave them sticking out for that intentional messiness that reads more romantic than sloppy. Some pieces falling out is actually the point with this one. It works best on hair that isn’t freshly washed, so second-day texture gives you something to grip.

【FOUR SIZES IN ONE SET】Includes 4 pearl hair claw clips in different designs and sizes: approximately 4.53, 3.93, 2.75, and 1.77 inches long (11.5, 10, 7, and 4.5 cm). The variety of sizes makes it easy to create different hairstyles for various hair lengths and volumes.

MADE WITH HIGH-QUALITY MATERIALS: Our hair clips are expertly crafted from durable recycled materials and professional-strength springs, making them the perfect eco-friendly choice for all your hairstyling needs!
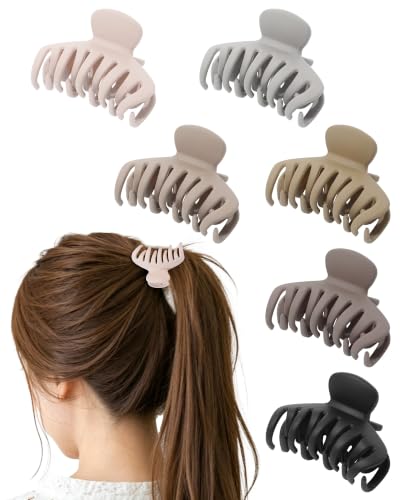
Double Row Teeth For Secure Grip: Featuring an interlocking double row teeth structure, these clips provide enhanced friction to help hold fine, silky hair securely. The balanced grip keeps your hairstyle neat while reducing the need for frequent adjustments throughout the day
7. Loose Braid
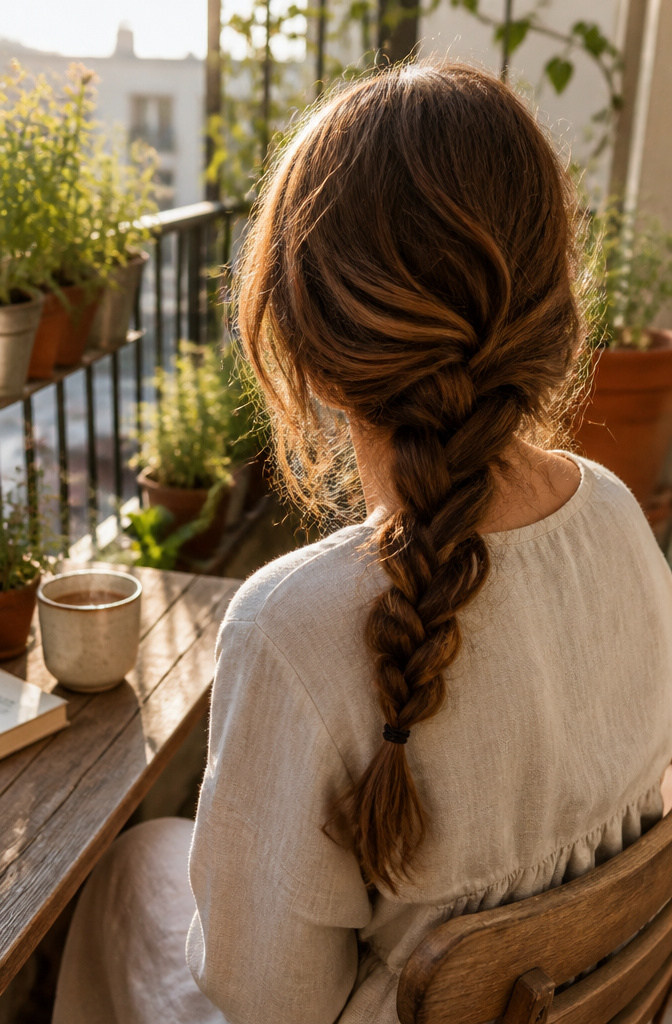
A single loose braid is one of those styles that looks like you tried harder than you actually did. Start with a basic three-strand or go for a pull-through braid if you want extra volume without the fuss of weaving underhand. The whole point is keeping your grip relaxed: tension should stay loose from start to finish so the braid sits soft against your back instead of pulling tight against your scalp.
If your arms start to ache partway through, bring the braid forward to finish it in front of your body. Just keep the pull gentle so the shape stays even and the elastic at the end doesn’t cinch everything upward. I like to pause after securing it and tug the loops slightly wider with my fingertips, which gives that fuller, more lived-in look without undoing the structure. A quick mist of dry texture spray helps here if your hair tends to go slippery on you, though it is not strictly necessary. The result reads casual but intentional, which is exactly the balance most mornings need.
8. Bubble Braid
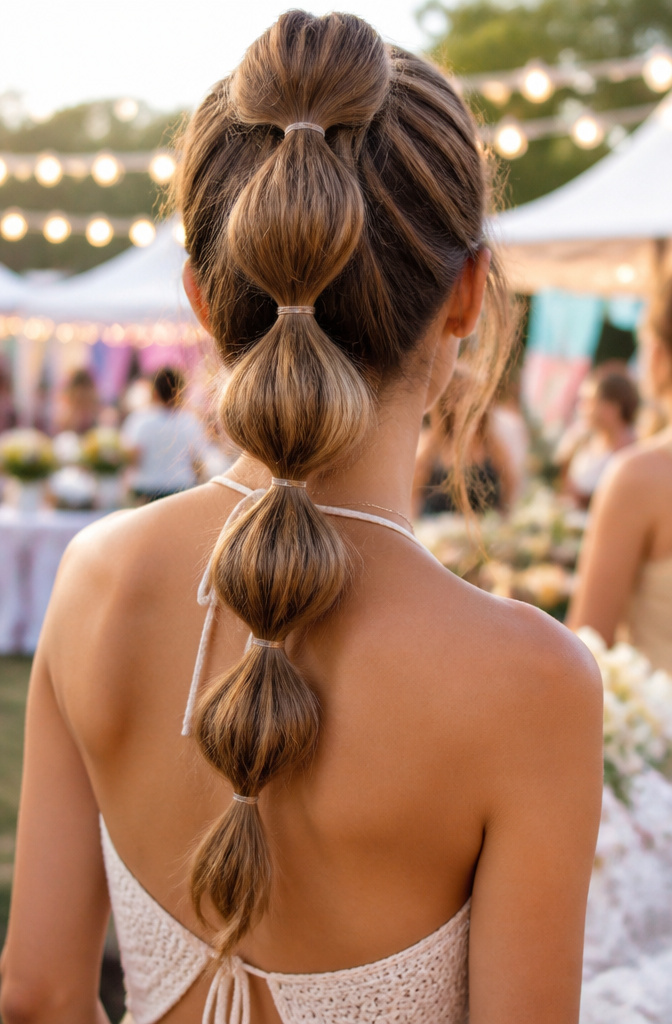
A bubble braid isn’t really a braid at all, which is part of why it lands on every easy hairstyles ideas list. Start with a ponytail wherever you like it, high or low. Then wrap a second elastic around the tail roughly half an inch to one inch down from the first, and keep going until you run out of hair. The spacing is forgiving; tighter gaps give a sportier look, while wider ones read softer and more modern.
Once the elastics are in, use your fingers to gently tug each section outward. That tension is what creates the bubbles, so don’t skip it. The style works on straight, wavy, or coily hair, and it takes under a minute once your ponytail is set. The only real catch is the elastic count: you’ll burn through more than you expect, so keep extras in your bag.


HIGH QUALITY: These are thick sturdy brown bobby pins which can secure your hair in place. The Wenobby heavy duty bobby pins are stronger than ordinary ones, perfect bobby pins for brown and blonde hair.
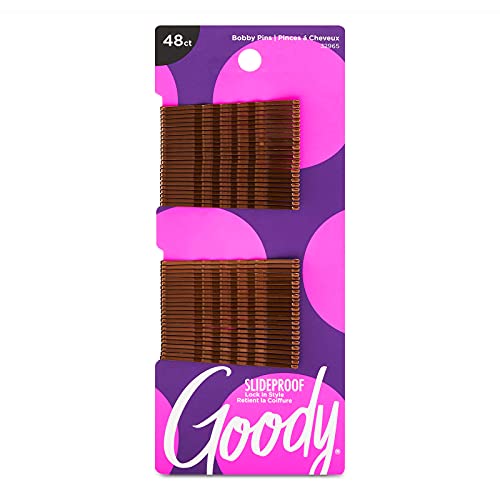
SlideProof Bobby Pins: Goody's Basic Hair Pins are the go-to accessory for keeping your hair securely in place & out of your face. The SlideProof technology ensures they stay put all day, while their sleek design blends seamlessly with any hairstyle
9. Messy Bun
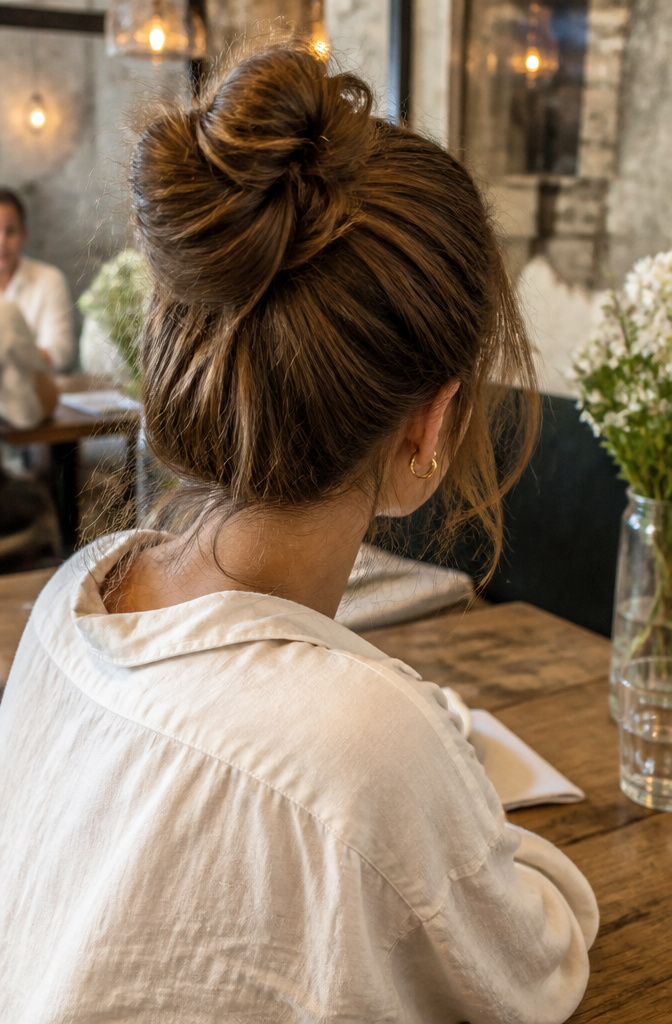
The messy bun only looks like you didn’t try. In reality, a good one needs the right kind of loose, or it collapses by lunch.
Gather your hair into a high ponytail, then twist it into a loose bun on top of your head. Secure with pins rather than a second elastic if you want that undone effect that still stays put. A second hair tie pulls everything too tight and neat; pins let you control which pieces stay slack.
A few flyaways around your face aren’t a flaw here, they’re part of the charm. If the frizz is more chaos than character, smooth it with a dab of cream before you start. The bun itself should look like it might fall out, even when it won’t.

Goody Kids Ouchless Polyband Elastics: These small but mighty latex elastics let you effortlessly style your hair into cute ponytails, braids and buns. They hold any hair type securely, ensuring all-day wear, and slide right off without any discomfort

Large Clear Hair Ties – Pack of clear elastic hair ties 1 inch, perfect for ponytails, braids, and detailed hairstyles without losing hold.

20 Pieces large neutral colors cotton hair ties: stretch bands rope ponytail holders headband are good for thick heavy and curly hair NOTE: The extension of hair ropes are much bigger, please pay attention to it before purchasing
10. Dutch Braid
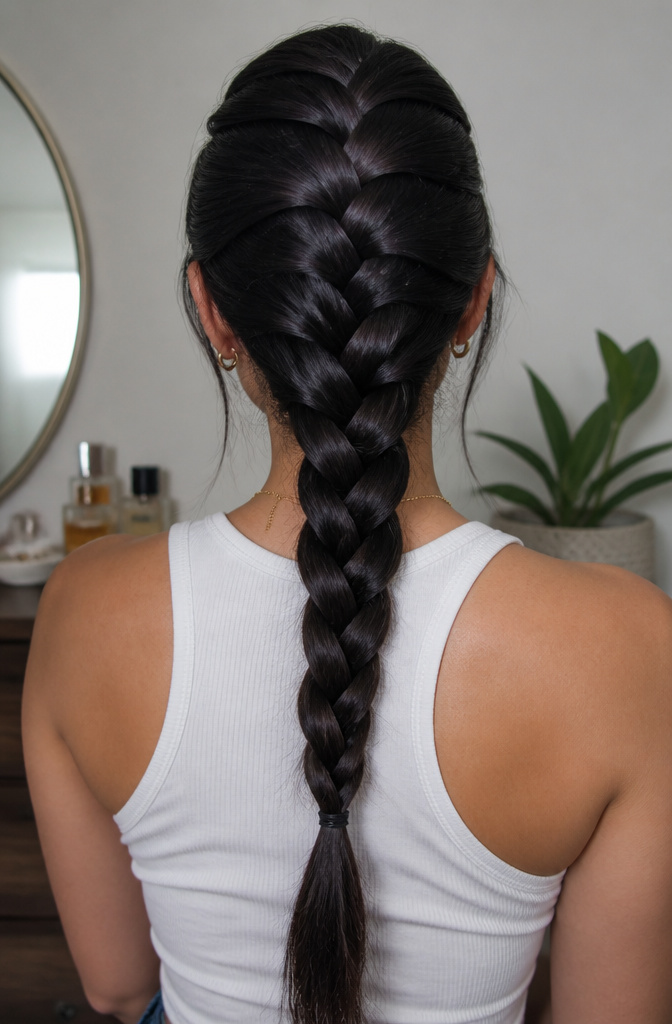
A Dutch braid is just a three-strand braid turned inside out. Instead of crossing strands over the top, you pass each one under the middle section, which pushes the braid outward so it sits on top of your hair like a raised rope.
The technique works three ways. One thick braid down the back gives you a polished single look. Two braids, parted down the middle, keep everything contained for workouts or humid days. Or braid both sides back and gather them into a low ponytail; the transition is cleaner than a plain pulled-back style and the braids do the work of holding flyaways down.
Once the braid is secure, you can tease small sections gently and pull out a few strands for texture. It takes a few practice runs to get the underhand motion smooth, but after that it is muscle memory. I still slow down at the nape of my neck on the single braid; that is the spot where sections want to tangle if you are not deliberate about keeping them separate.

【Trendy Space Buns Style】 Get the viral double-bun look instantly with our 2 pack set. Designed for the popular space buns or "cat ears" aesthetic, these messy bun hair piece items create a playful and chic vibe. Perfect for achieving a symmetrical, wavy updo without the hassle of styling your own hair, making you stand out in any crowd.
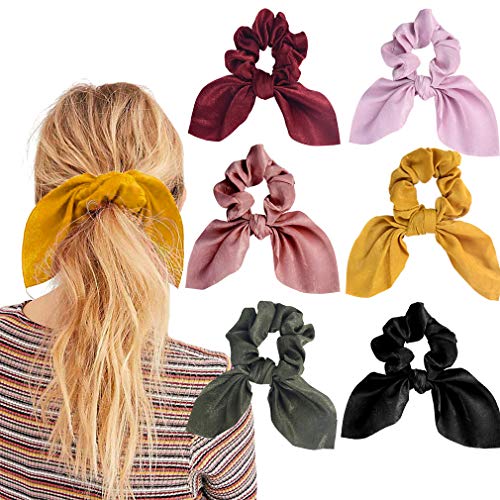
【FIXED WELL WITH NICE ELASTIC】Satin slik scrunchies are fit most hair, especially thick hair, which can fix your hair up so well for a long time without loosening or falling out all together.

Ideal size variety catering to both thick and fine hair types: Extra Large measures 11 cm, Large at 9 cm, Medium at 8 cm, and Small at 6 cm. With multiple sizes available, it's perfect for the entire family. Different sizes better accommodate various girls based on their hair volume and head circumference
11. Fishtail Braid
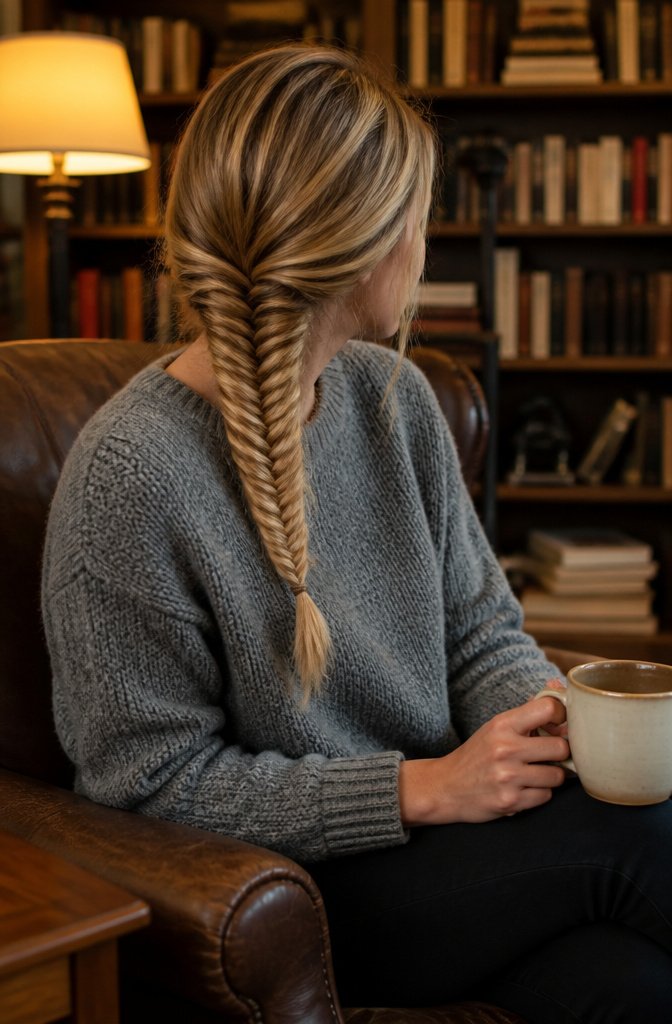
A fishtail braid only looks complicated. You split your hair into two sections, then take a small piece from the outer edge of one section and cross it over to the other side. Repeat on the opposite side and keep alternating until you reach the end. The result reads as far more intricate than the actual work involved.
That said, the small pieces and repeated movement take longer than a basic three-strand braid. For most quick styles I can finish in a few minutes, this one demands more patience. It also works best with longer hair, since the strands tend to shrink upward as you braid and can end up shorter than you expect.
If you want the full effect, gently pull on the outer strands once you are done to loosen the braid and make it look thicker. A clear elastic at the end keeps things clean without drawing attention to the band itself. Dry shampoo on the ends adds hold if your hair is prone to slipping out of place.
12. Faux Braid
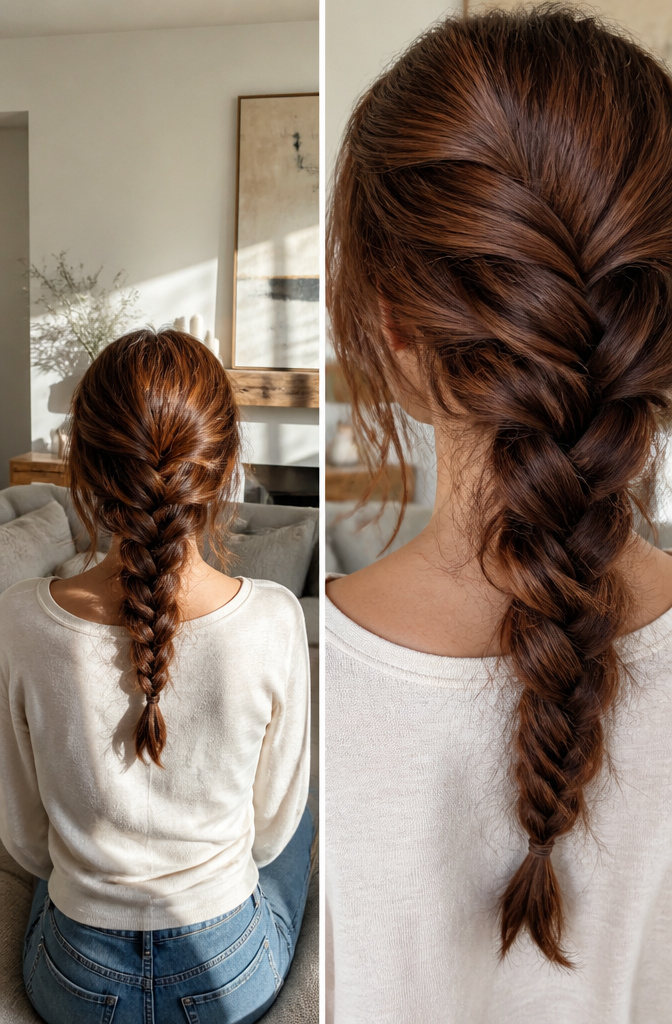
A faux braid is the shortcut for anyone whose fingers refuse the standard three-strand weave. You twist two sections of hair in the same direction, cross them over each other the opposite way, and keep going. Small elastics hold each crossover so nothing unravels.
The real payoff comes at the end. Unlike a French or Dutch braid, which collapses if you tug it wider, a faux braid is secured all the way down. You can blouse it out for a fuller look without it falling apart. That structure also makes the style forgiving on short layers or pieces that slip out of a real braid.
I usually see this done as a single twist down the back, a pair framing the face, or pulled into a half-up style with the ends left loose. Each variation takes the same few minutes once the motion feels natural. If you have been skipping braided styles because the coordination never clicked, this is the workaround worth trying.
13. Twisted Ponytail
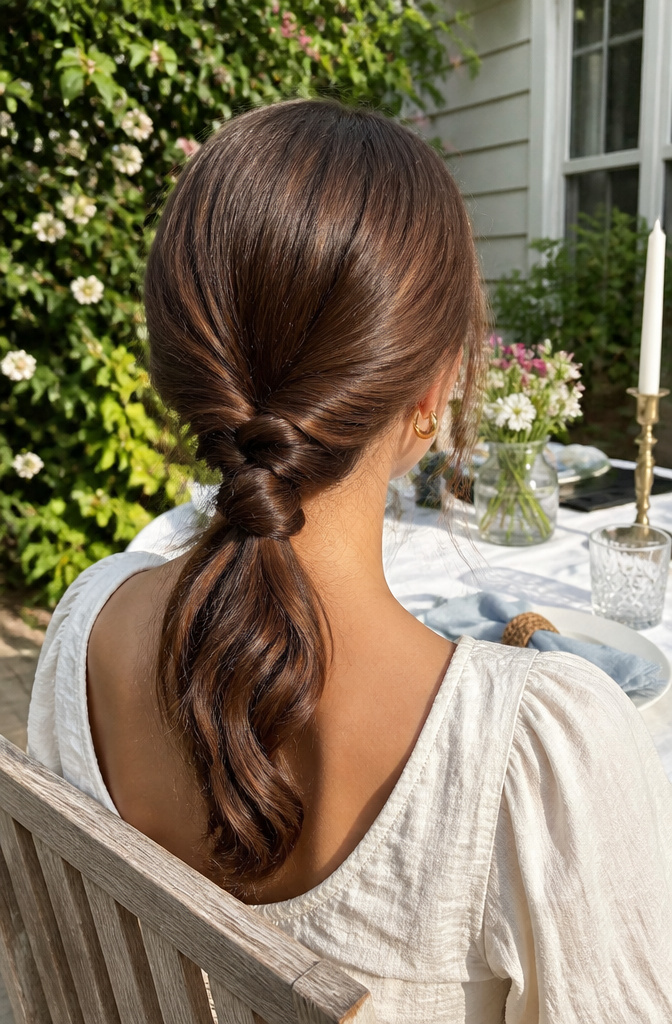
A twisted ponytail gives you the rope-braid look without the finger gymnastics. You gather your hair low at the nape, secure it with a scrunchie, then twist the tail itself into a cord. Wrap a second band around the twist every few inches, or leave it to curl back on itself naturally. Either way, it reads as intricate from across a room but takes maybe two minutes. I like this one on mornings when a regular pony feels too sporty and a real braid feels like homework. A dab of medium-hold gel at the crown keeps flyaways down so the twist stays the focal point. The style works on second-day hair too, which is when mine actually holds the rope shape best.
14. Half-Up with a Ribbon
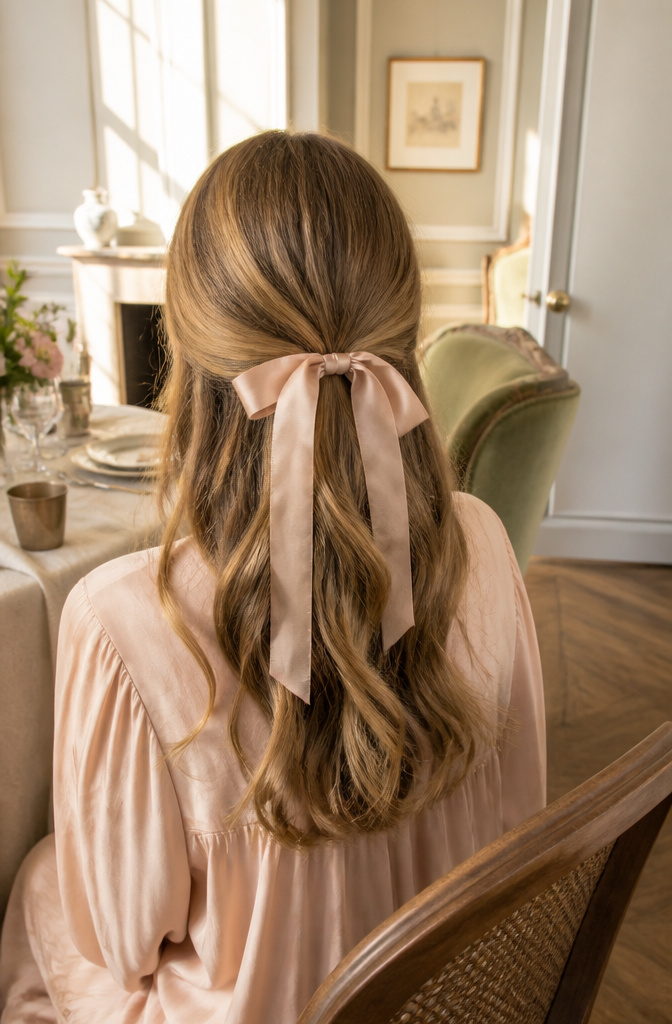
A half-up style with a ribbon looks polished without the elastic crease you get from a hair tie. Gather the top section of your hair as you normally would, then loop a ribbon underneath and tie it off instead. Satin ribbons around one to two inches wide grip best and do not slide out the way skinny ones do. I have found that grosgrain holds even better, though it reads a little more school-uniform than evening out. Tie a simple bow or knot, let the ends hang, and you are done in under two minutes. The ribbon does the decorative work so the rest of your hair can stay plain.
15. Space Buns
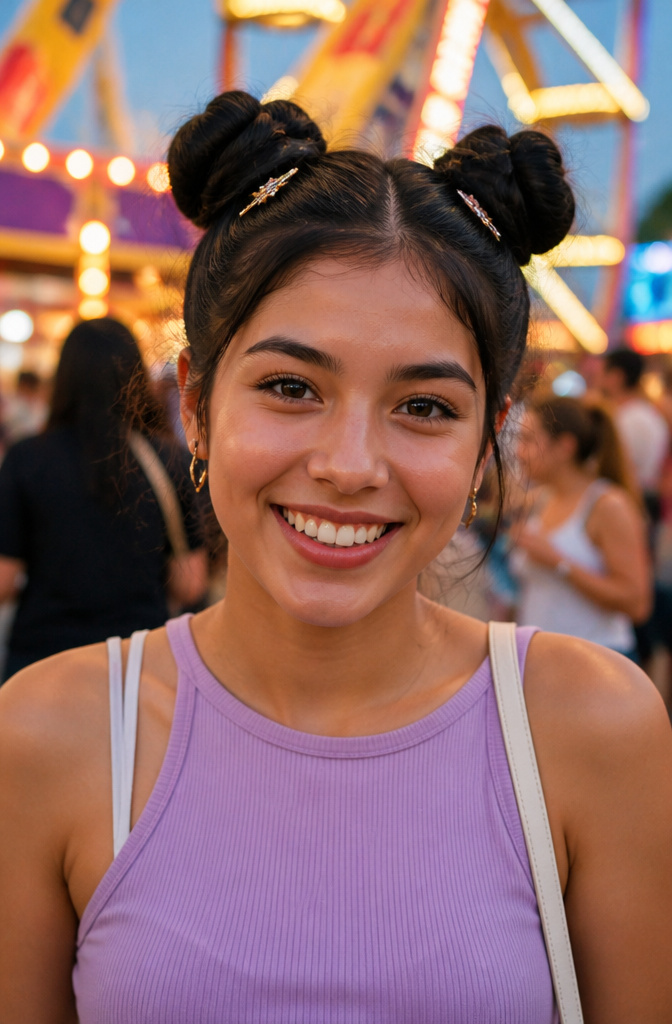
The classic space bun setup starts with a clean center part running all the way to the nape of your neck. Symmetry matters here more than with the beginner version, so take the extra thirty seconds to check the back with a second mirror or your phone camera. I twist each section away from the face before coiling it into place, which keeps the buns sitting flat against the head rather than sticking out like horns.
Placement is where you get to decide what works for your face. High and tight at the crown reads playful and a little retro; slightly lower and wider apart feels more current. Secure the base with bobby pins crossed in an X before you add the hair tie, and the whole thing stays put without that wobble that happens when you rush.
Accessories are what separate a practiced space bun from a first attempt. A few bejeweled pins tucked around the base catch light without looking costume-y, or lean into the Y2K thing with butterfly clips placed along the part line. If your hair is curly or wavy, skip the smoothing step. The sources all point to the same thing: working with your natural texture cuts time and the buns actually hold better.
16. Low Ponytail with Braid

A low ponytail at the nape keeps your neck cool on sticky days, but it can look a little too gym-class if you do not add one small detail. Weave a thin braid into the gathered hair or wrap a tiny section around the base, and the whole thing suddenly looks intentional.
The braid option works two ways. You can braid a half-inch section from underneath the ponytail before you tie it off, then pull that braid forward so it sits on top of the gathered hair, or you can secure the ponytail first and wrap a single braided piece around the elastic to hide it. Both take about two minutes once your hands know the motion.
Medium-hold gel smoothed over the crown first keeps flyaways from ruining the clean line. I have found that skipping this step means spending twice as long fixing rogue pieces after the braid is already in place. A snag-free hair tie matters here too; the cheap ones with metal clasps catch on the wrapped section and undo your work.
Tease the braid gently with your fingertips if you want it fuller. The sources disagree on whether to do this before or after wrapping, so try both and see which holds better in your hair texture.
17. Half-Up High Ponytail
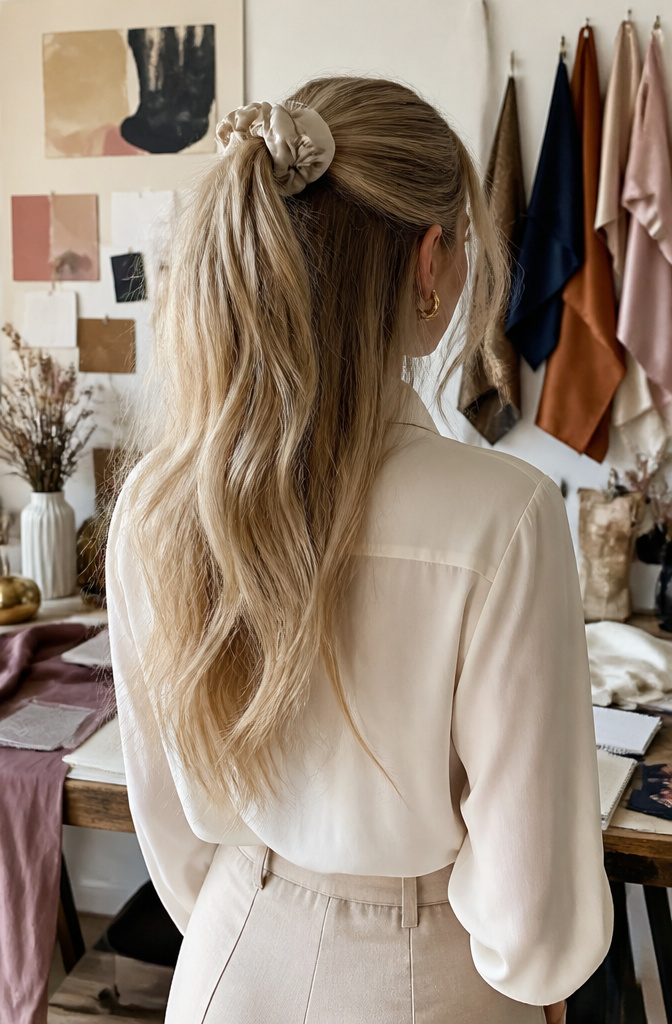
A half-up high ponytail sits right at the crown, which is the sweet spot for lifting your face and adding height without trying too hard. I separate the top half of my hair with my fingers, pull it straight up, and secure it with a snag-free bobble or scrunchie. The bottom half stays completely loose, so you still get movement and length.
What I like about this placement is that it creates natural volume at the top. A ponytail worn lower can drag everything down; the crown position does the opposite. For straight hair, a quick pass with a flat iron on the loose section keeps it looking polished. If you’ve got curls, you can perfect any strays with a texture wand. A scrunchie works, though a ribbon tied over the elastic hides it and adds something extra. This style takes about two minutes and keeps hair out of your face without the full commitment of an updo.
18. Messy High Ponytail
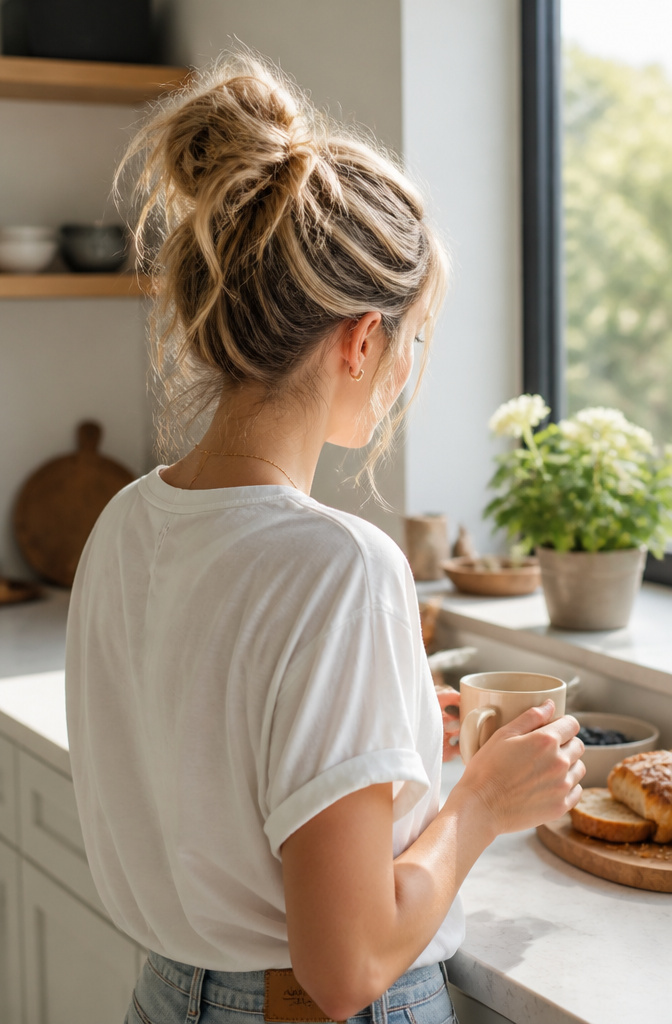
A messy high ponytail lives on texture, not polish. Second-day hair has the grip that makes this work, or you can build it with a quick mist of dry shampoo or sea salt spray before you start.
Gather everything at the crown and secure it with a snag-free elastic. The goal is intentional imperfection, so don’t smooth every flyaway. A little gentle back combing at the crown adds lift if your hair falls flat, but the real charm comes from the pieces that escape on their own.
This is the ponytail you throw up before coffee, not the one you sculpt for an hour. It reads as effortful in the best way, even though it takes maybe two minutes.
19. Bubble Ponytail
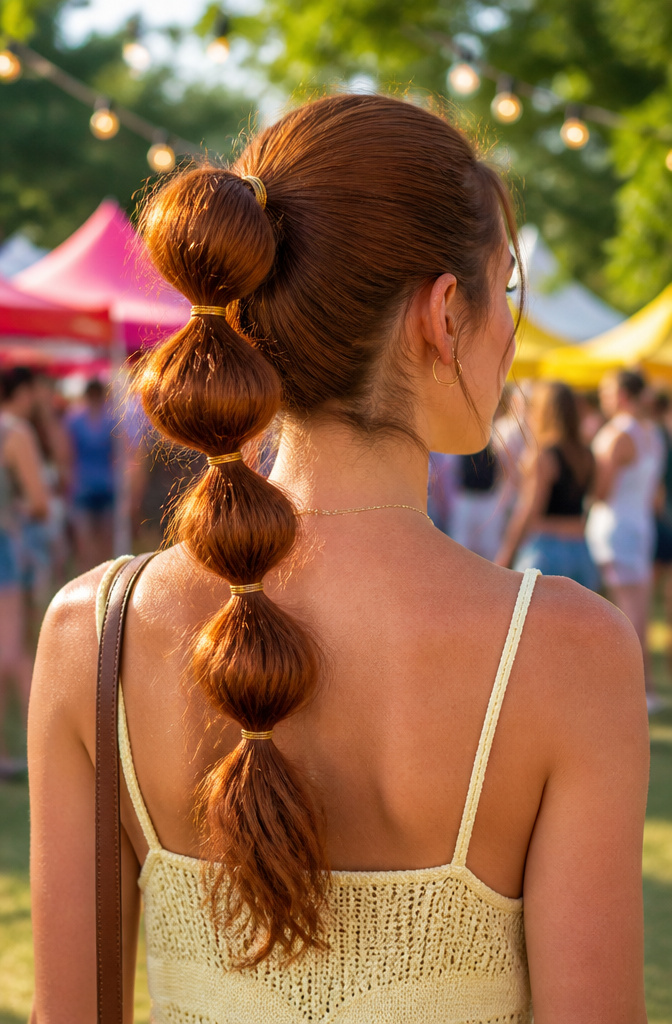
A bubble ponytail starts with a regular ponytail, then adds volume through elastics spaced down the length. Tie your hair as you normally would, then secure another hair band a few centimetres below the first. Repeat until you reach the end. Gently tug each section outward to tease the hair and create those rounded, fuller bubbles.
This style works on braided or unbraided hair, and it is especially forgiving for fine strands that need a boost. Coily hair types can achieve the same effect by spacing elastics evenly and pulling each segment apart for volume. A silk scrunchie at the base finishes the look without adding tension.
For a softer effect, leave the tail below the last elastic loose rather than bubbling all the way down. Fewer elastics with more pulling between them gives a looser, more modern shape. Tighter spacing reads sportier. Either way, the ponytail base keeps this simpler than a full bubble braid, and you will use plenty of elastics, so keep spares on hand.
20. Twisted Side Braid
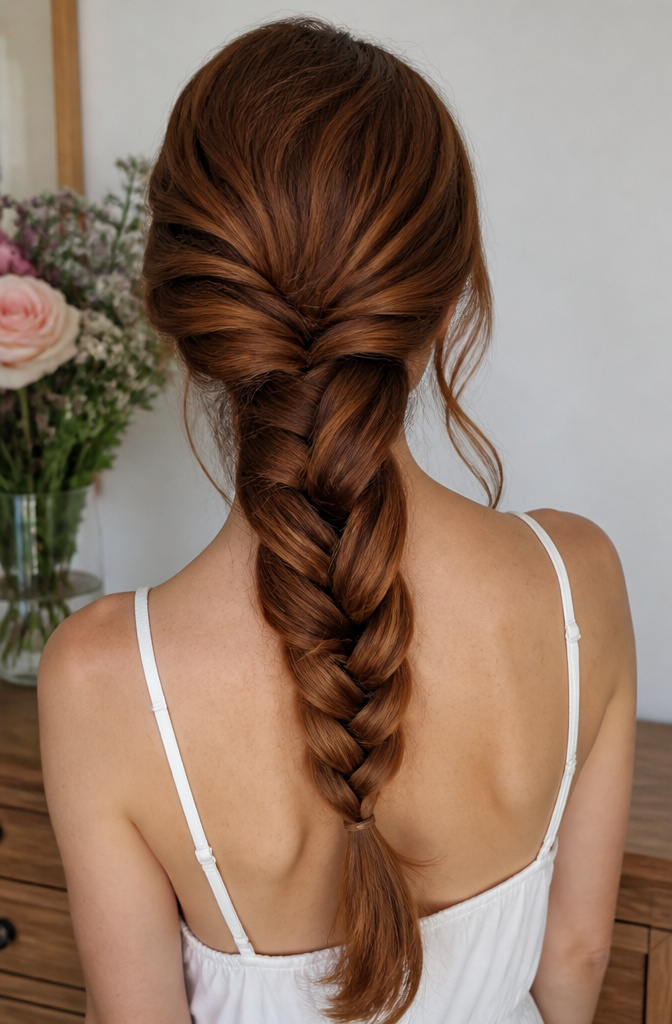
A rope twist is the fastest way to fake a braid without the finger work. Split your hair into two sections, twist each one tightly in the same direction, then cross them over each other in the opposite direction. Keep twisting and crossing until you reach the end, then tie it off with a hair bobble.
Pull everything to one side first if you are working with a one-sided part. The asymmetry looks intentional, and the twist sits nicely along your shoulder instead of hanging straight down your back.
For shorter cuts, two small twists at the front work the same way. Twist the side strands, then slide in two bobby pins opposite to the twist’s direction. That is it. The whole thing takes about a minute, and the sleeker you keep the top, the more polished it reads.
Frequently Asked Questions
What are some easy hairstyles for beginners?
Start with a messy bun secured by bobby pins rather than a second elastic, a half-up twist using two one-inch sections from either side of your part, or two high pigtails coiled into beginner space buns. Each takes under two minutes and needs only basic tools you probably already own.
How can I style my hair quickly?
Messy buns, ponytails, and braids all work in minutes. Tilt your head back before gathering a perky ponytail so the crown stays lifted, or twist two sections and cross them for a faux braid that avoids three-strand coordination. Second-day hair actually holds many styles better than freshly washed.
What tools do I need for easy hairstyles?
Hair ties, bobby pins, and clips handle most styles in this list. A fine-tooth comb helps with backcombing for a spiked bun, and a second mirror checks your center part for space buns. Hairspray, dry shampoo, and a small styling serum round out the basics without requiring hot tools.