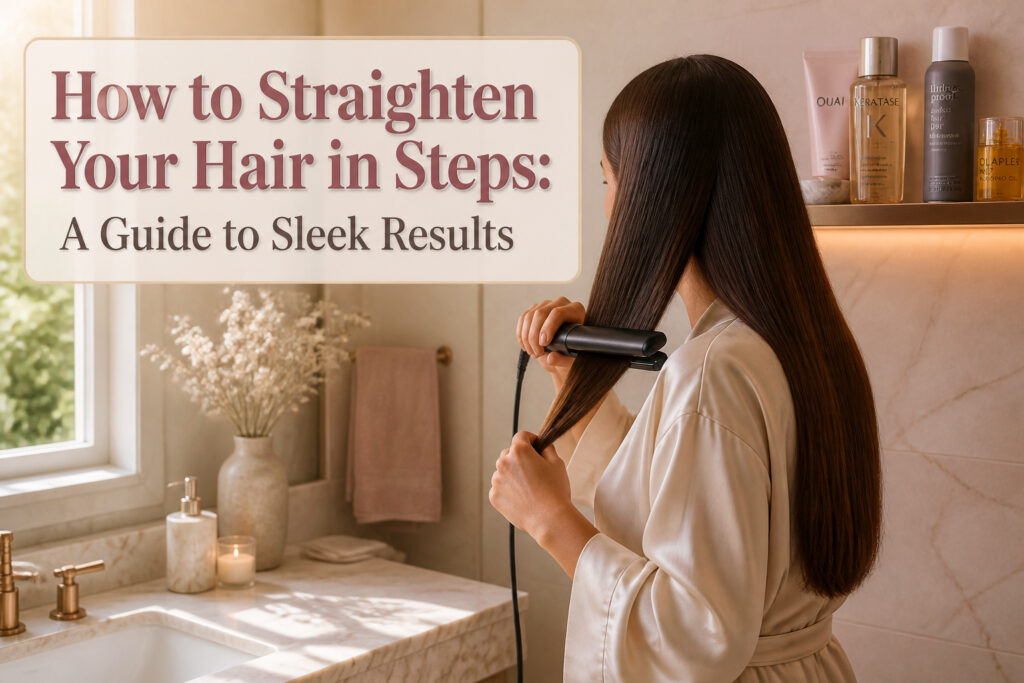
Sleek, straight hair takes about thirty to forty minutes if you’re blow-drying and flat-ironing, longer if you’re working with no-heat methods like jumbo rollers or overnight wrapping. Most people get the temperature wrong. Fine hair scorches above 320°F, while coarse hair needs up to 420°F just to reshape the strand. The sizzle you hear when a flat iron hits damp hair is your cuticle blistering, and that damage doesn’t reverse.
1. Prep and Protect
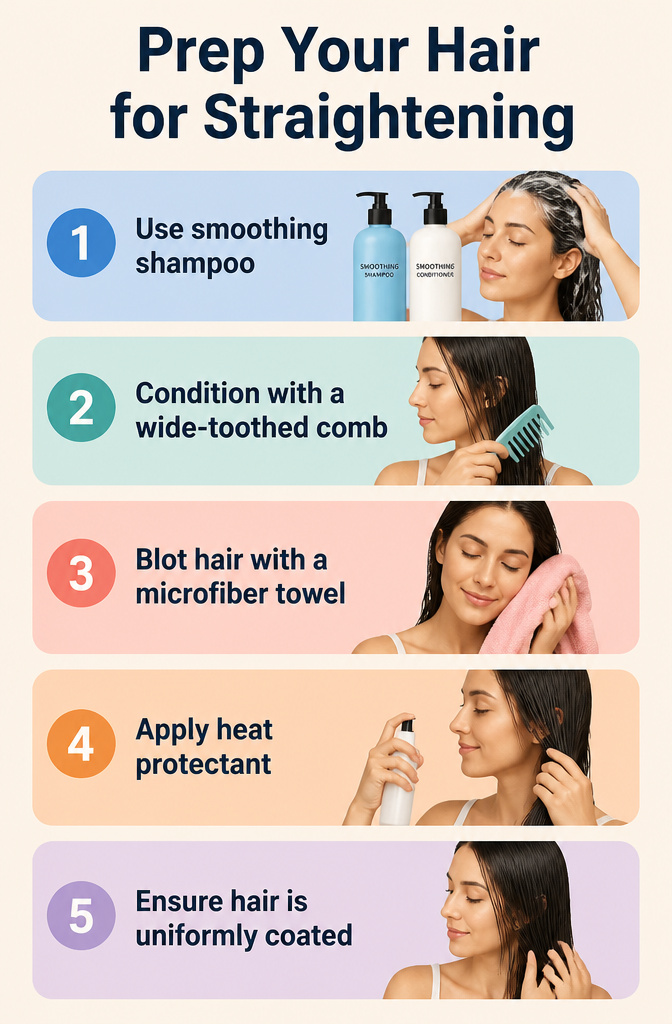
Smoothing shampoo and conditioner set the stage, not just clean the hair. I start there, working the conditioner through with a wide-toothed comb and rinsing with lukewarm water so the cuticle stays flat.
A microfiber towel matters more than you’d think. Rubbing with a regular terry cloth roughs up the surface and invites frizz; I blot gently and let the fabric do the absorbing.
Heat protectant goes on next, and damp hair will sizzle under a hot tool. Almost every stylist I’ve read insists on this step: a thermal barrier prevents dehydration and color fade, and it needs to reach every section evenly. I section my hair and spray or cream through each one, because patches of dry product or missed spots are where damage starts.
By the time I’m done, my hair should feel uniformly coated and ready for the next step, not dripping wet and not already air-drying into fuzz.

Hair Care Routine for Color Treated Hair: Glossing Shampoo, Conditioner & Hair Mask System, an at-home glossing service with Glycolic Acid, delivers 8x smoother hair & up to five days of intense glass shine for shinier hair than the $82 glossing bundle
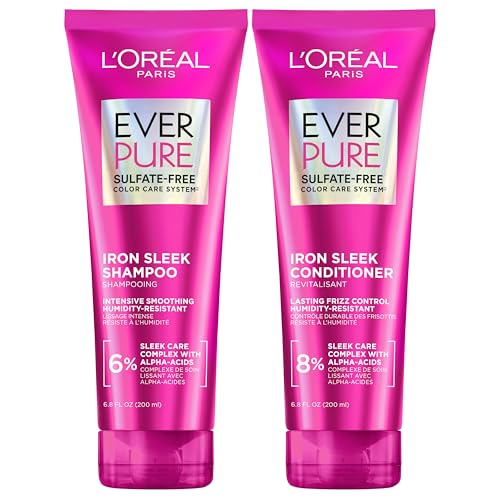
Iron Sleek Frizz Control: Our EverPure Iron Sleek Sulfate Free Shampoo and Conditioner Set provides humidity and frizz resistance up to 24HR + color protection. Formula with Alpha Acids has a fresh floral scent that blooms with notes of magnolia & amber

HARD WORKING: Fuels hair with a potent blend of Pro-V nutrients and antioxidants so hair is shiny and free of frizz
2. Blow-Dry Smooth
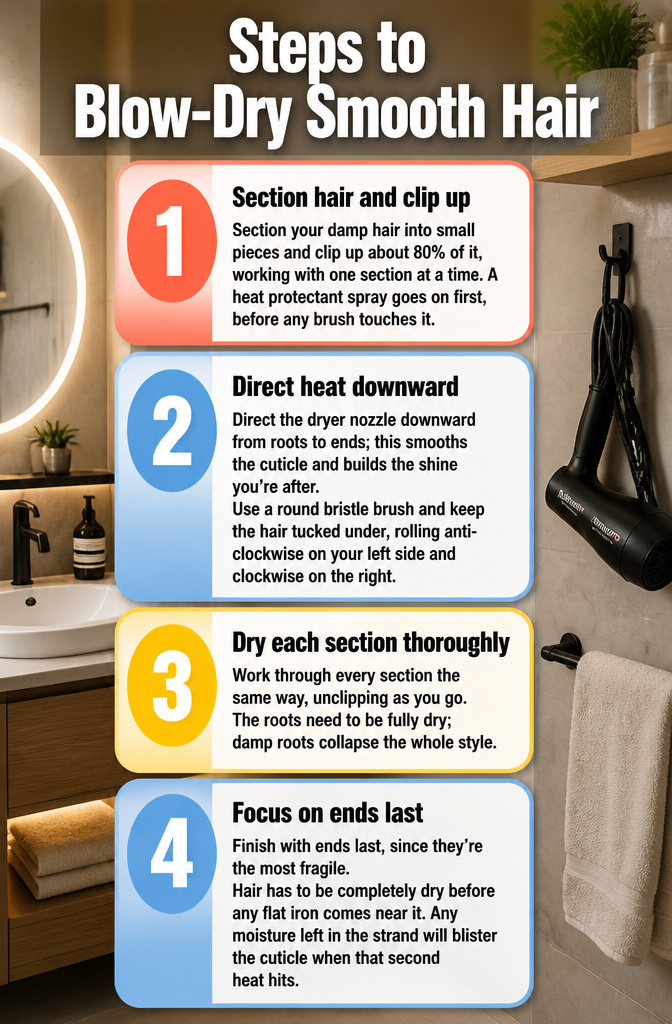
- Section your damp hair into small pieces and clip up about 80% of it, working with one section at a time. A heat protectant spray goes on first, before any brush touches it.
- Direct the dryer nozzle downward from roots to ends; this smooths the cuticle and builds the shine you’re after. Use a round bristle brush and keep the hair tucked under, rolling anti-clockwise on your left side and clockwise on the right.
- Work through every section the same way, unclipping as you go. The roots need to be fully dry; damp roots collapse the whole style.
- Finish with ends last, since they’re the most fragile. Hair has to be completely dry before any flat iron comes near it. Any moisture left in the strand will blister the cuticle when that second heat hits.

SUPER ABSORBENT MICROFIBER HAIR TOWEL: Hicober hair towels are made of a super absorbent microfiber towel, breathable, odorless for quick dry hair
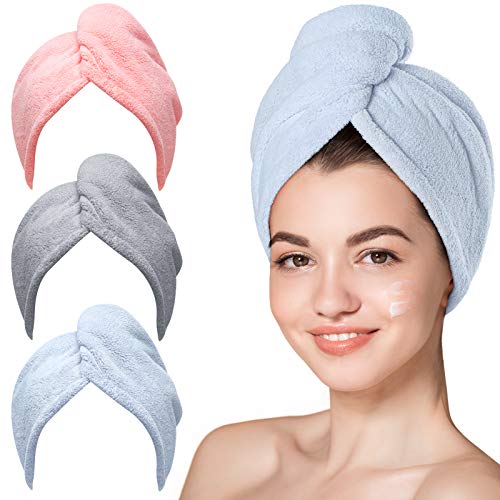
Quick-Drying Microfiber Cuts Dry Time by 50%* Premium microfiber absorbs water fast without rough rubbing. Ideal for reducing blow-dry time, protecting hair from heat damage, and keeping your routine quick and gentle.
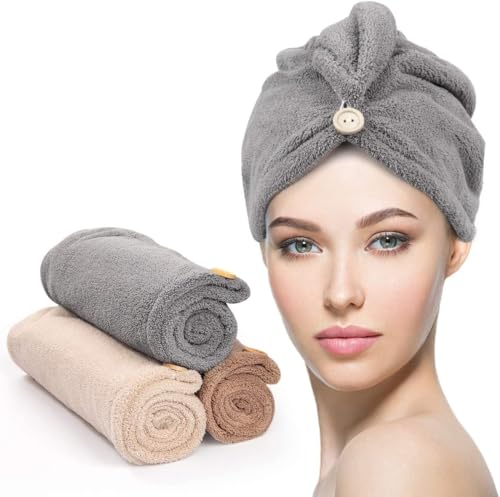
Fast Drying & No Dripping: Expertly crafted from super absorbent microfiber fabric, the YFONG Microfiber Hair Towel delivers rapid and thorough drying. This hair towel wrap for women is fast drying, machine washable, supremely soft and comfortable, ensuring a completely no-drip experience that saves you precious time.
3. Flat Iron by Hair Type
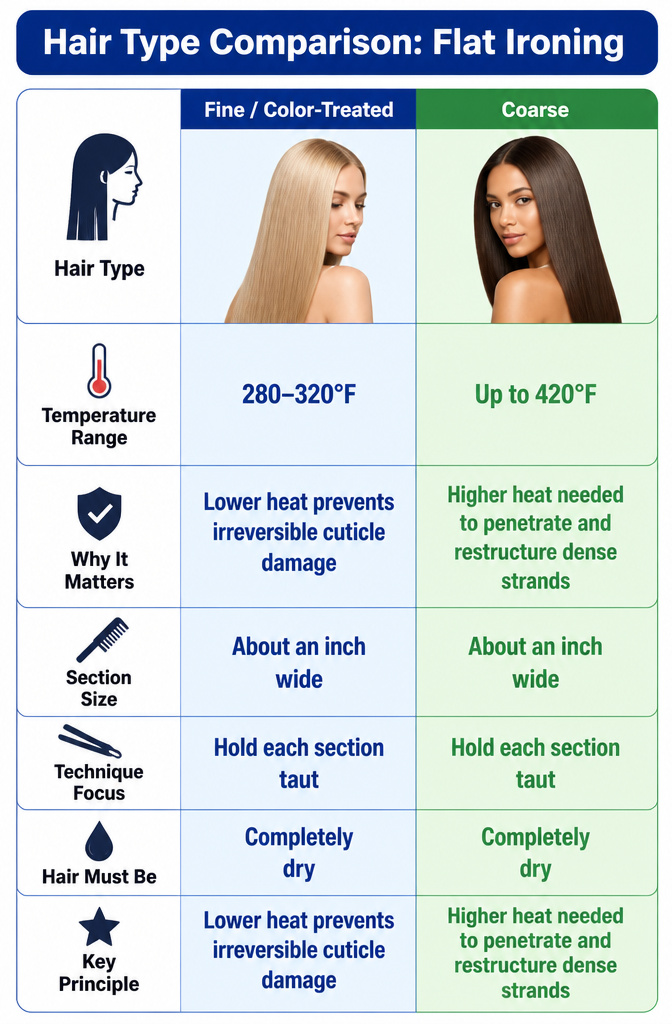
- Work in small sections, about an inch wide, and hold each one taut as you glide the iron from root to tip in one smooth pass. Keeping tension on the strand means fewer repeats and less damage overall.
- Set your temperature to your actual hair type, not the highest number on the dial. Fine or color-treated hair needs 280–320°F. Medium texture lands at 325–375°F. Coarse hair can handle up to 420°F max.
"Too much heat isn’t more effective—it’s just more damaging," says Siskovic.
That quote from Teen Vogue sums up the mistake most of us make at home: cranking the dial and hoping for faster results. What you actually get is weakened strands that won’t hold a style anyway.
- Never run a flat iron over damp hair. Water plus high heat causes steam damage inside the cuticle, and the sizzle you hear is your hair protesting. Blow-dry completely, then start the straightening pass.

Heat Protectant Leave In: This ultra lightweight leave in protects against heat damage up to 450F degrees while reducing frizz, hydrating long hair and sealing in shine for 3 day sleek hair

Heat protectant: This weightless heat protectant spray shields your hair from heat damage up to 450°F while delivering lightweight conditioning; preps hair for smooth, strong, ready-to-style hair
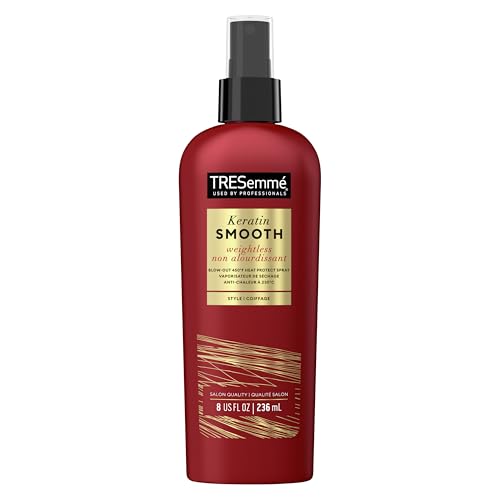
HEAT PROTECTANT SPRAY: TRESemmé Thermal Creations leave-in heat protectant spray for hair provides 5 smoothing benefits in 1, leaving hair shiny and enviably soft
4. Jumbo Roller Method
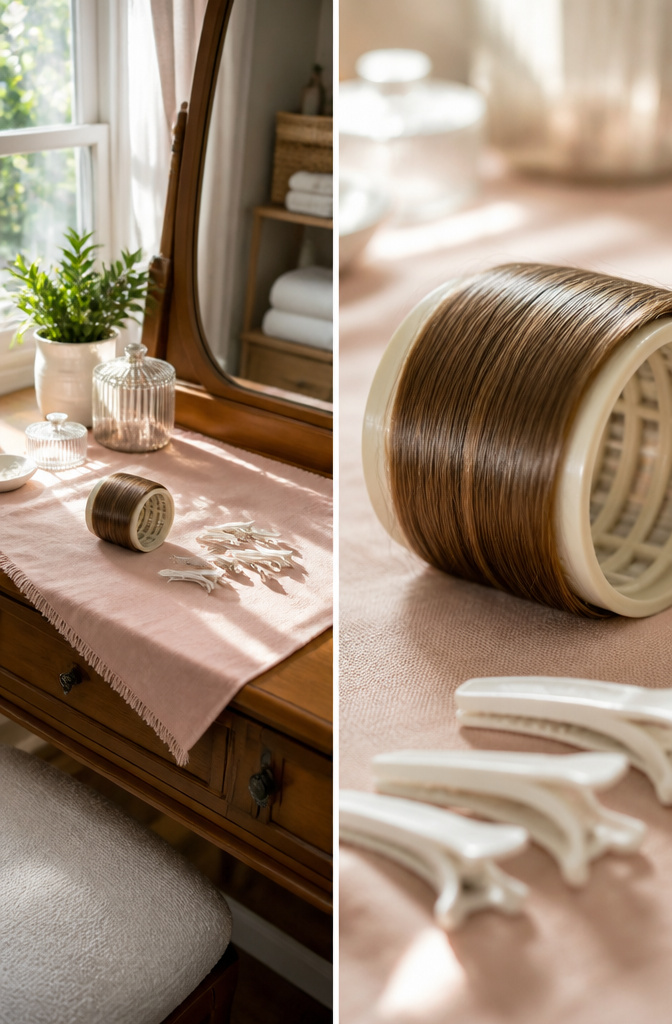
- Apply setting lotion to damp hair, not soaking wet. This gives the straightened shape something to hold onto while it dries.
- Section your hair the width of the roller and comb each section up. Wrap it flat against a jumbo plastic roller, keeping tension even as you roll. Plastic gives a smoother finish than Velcro or foam.
- Secure each roller with a duckbill clip on both sides so it stays put while drying.
- Let your hair dry completely before removing the rollers. Any leftover moisture will reactivate your curl or wave, and the work is wasted.
- Larger rollers straighten more; smaller ones keep more curve. If you want volume at the crown, place the biggest rollers there and use smaller ones through the ends.
This method takes patience, but it is the most effective no-heat option for coarser, curlier textures that need real smoothing. Sleeping in the rollers works well if you want to let time do the drying for you.

SNAG-FREE: This round hair brush features ball-tipped nylon bristles that help to blow-dry style hair without snagging or pulling.
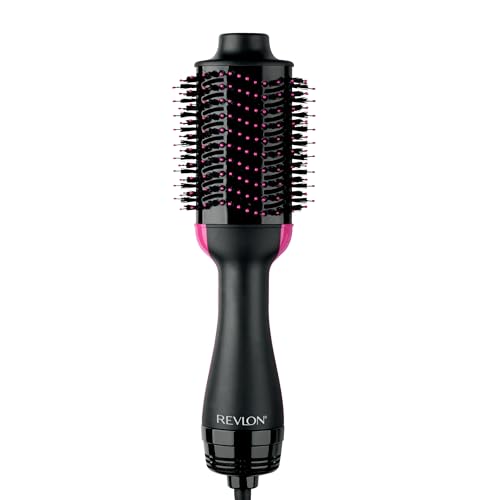
Full-bodied blowouts: The 2.8 in oval barrel smooths hair while rounded edges help create lift, volume, and curled ends

Nano Thermal Ceramic Ionic Technology: Our round brush will add endless shine and blaze on your hair every time you use. Enhance the looks of your hair, improve texture and reduce brittle hair and split ends! It helps reduce frizz and add shine. Cuticles are sealed, producing a smooth, soft texture from roots to ends. It creates loose curls and waves in medium to long hair and helps straighten and add volume to shorter and medium styles
5. Wrap Overnight
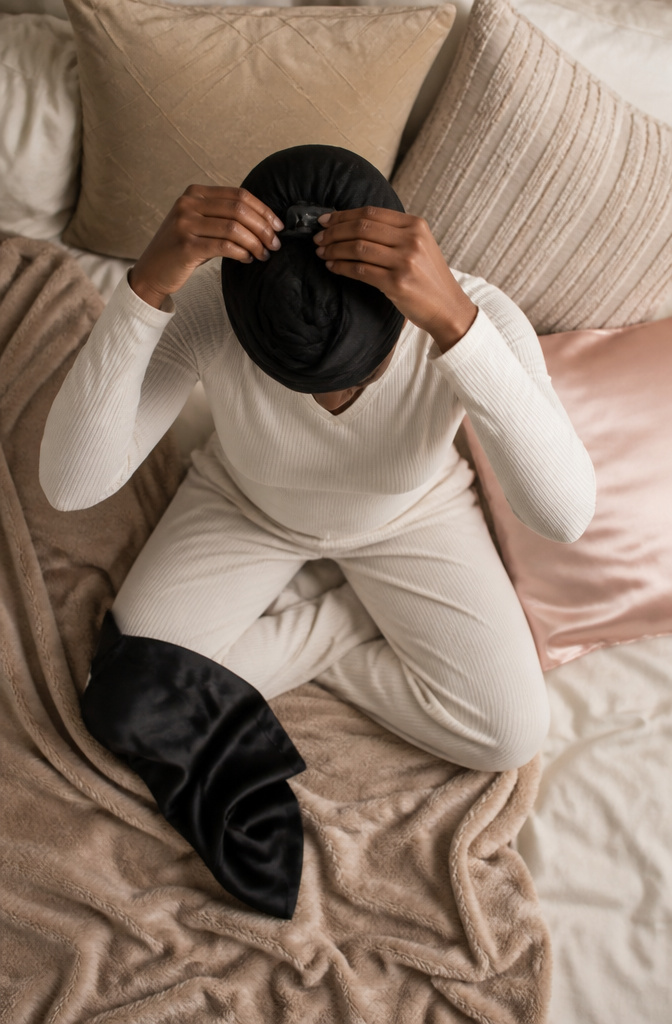
- Start with damp, not soaking wet hair. Thicker textures take longer to reach this point, so squeeze or air-dry briefly if needed.
- Part hair down the middle. Comb the left section flat against your head, wrap it around the back toward the right side, and secure with large bobby pins. Repeat with the right section, wrapping left.
- Smooth each section against your scalp as you go. The flatter it lies now, the straighter it dries.
- Your wrapped hair should look like a smooth turban or beehive. Reuse the same clips at the crown rather than adding extras, unless your hair keeps slipping.
- For overnight drying, cover with a silk scarf or satin bonnet. A satin pillowcase helps too, since friction is what turns smooth into frizz while you sleep.
- Bobby pins can leave dents. A thin strip of cardboard or tissue between the pin and your hair prevents that. Flat clips or duckbill clips are gentler alternatives if you have them on hand.
- Let hair dry completely before unwrapping, whether that means sleeping on it or simply waiting. Rushing this step means waves, not straight results.

ADVANCED CERAMIC PLATES: Infused with Argan oil, protein-packed Keratin, and a micro-conditioner, this straightener delivers even heat for optimal hair health. Good for all hair types- fine, normal, thick, and coarse hair. Use on dry hair only.

Reduce Hair Damage: Straightener has ceramic coating helps reduce damage from over-styling with even heat distribution making styling fast and easy
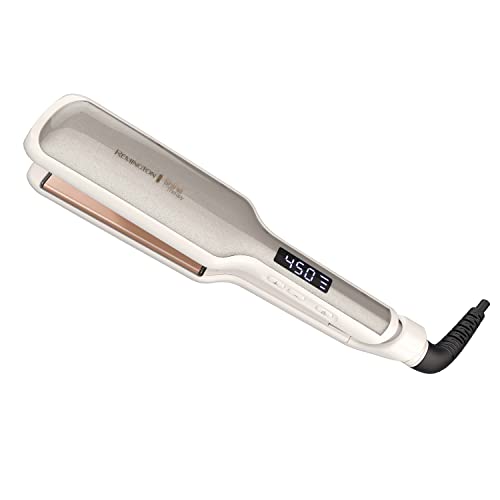
ADVANCED CERAMIC PLATES: Infused with Argan oil, protein-packed Keratin, and a micro-conditioner, this straightener delivers even heat for optimal hair health. Good for all hair types- fine, normal, thick, and coarse hair. Use on dry hair only.
6. Banding for Gentle Stretch
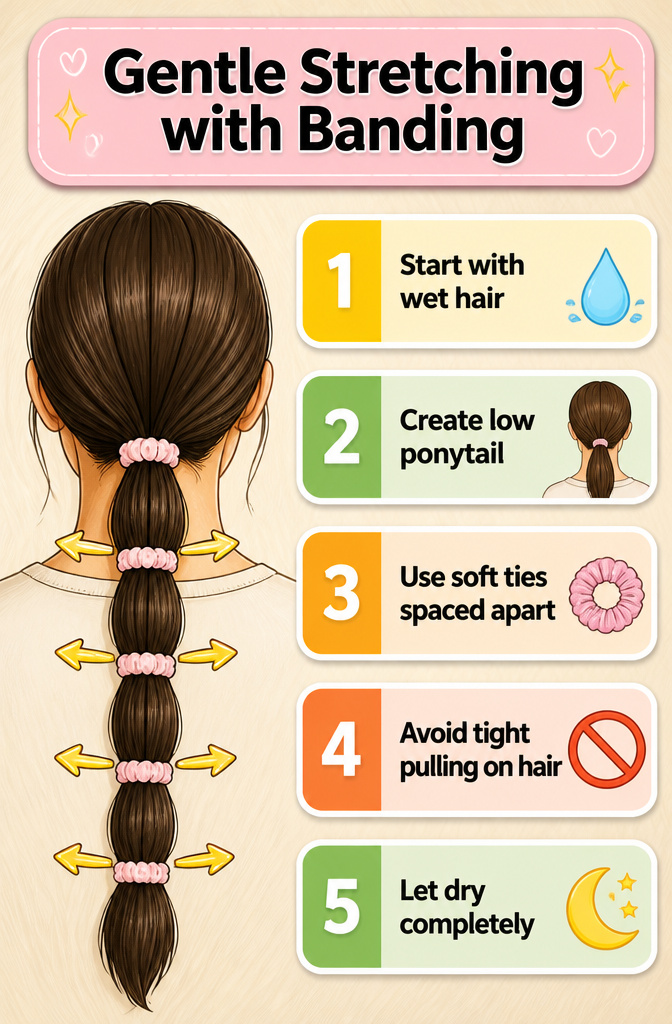
Banding stretches damp hair into a longer, looser shape without any heat. Start with hair that’s wet but not dripping, then pull it into a low ponytail. If your hair is thick, split it into two or three ponytails so the bands can grip evenly.
Fasten each ponytail with a soft tie or small scrunchie, then add more ties spaced about an inch apart down the length. Don’t pull them tight enough to leave marks; the goal is gentle tension that holds the hair straight, not a series of dents you’ll have to fix later.
Let everything dry completely. This works well overnight, since you’re not wrestling with a blow dryer or flat iron. Once the hair is fully dry, remove the bands and shake the ponytail out. You’ll get elongation rather than pin-straight results, which is usually enough for loose curls or waves that just need to relax into a smoother silhouette.
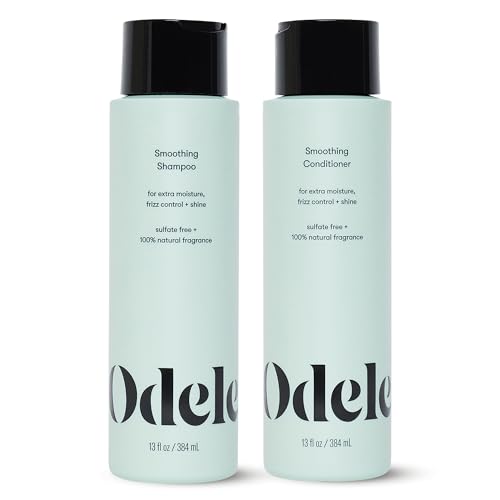
EXTRA MOISTURE, FRIZZ CONTROL + SHINE - This salon-grade shampoo + conditioner gently cleanses while taming frizz, smoothing flyaways, adding shine, and enhancing your natural texture by locking in moisture

SMOOTH SHAMPOO + CONDITIONER: MONDAY Haircares SMOOTH Shampoo and Conditoner incorporates active ingredients, Wheat Protein and gentle naturals such as Avocado Oil to provide soft shape and shine for all hair types—especially those that are curly, wavy, frizzy or typically hard to manage.

Color Protection Shampoo and Conditioner Set: Offering anti-fade color protection plus humidity and frizz resistance for up to 24 hours, this sulfate free shampoo and conditioner is ideal for frizzy, dry, damaged, and color treated hair
7. Finish and Seal
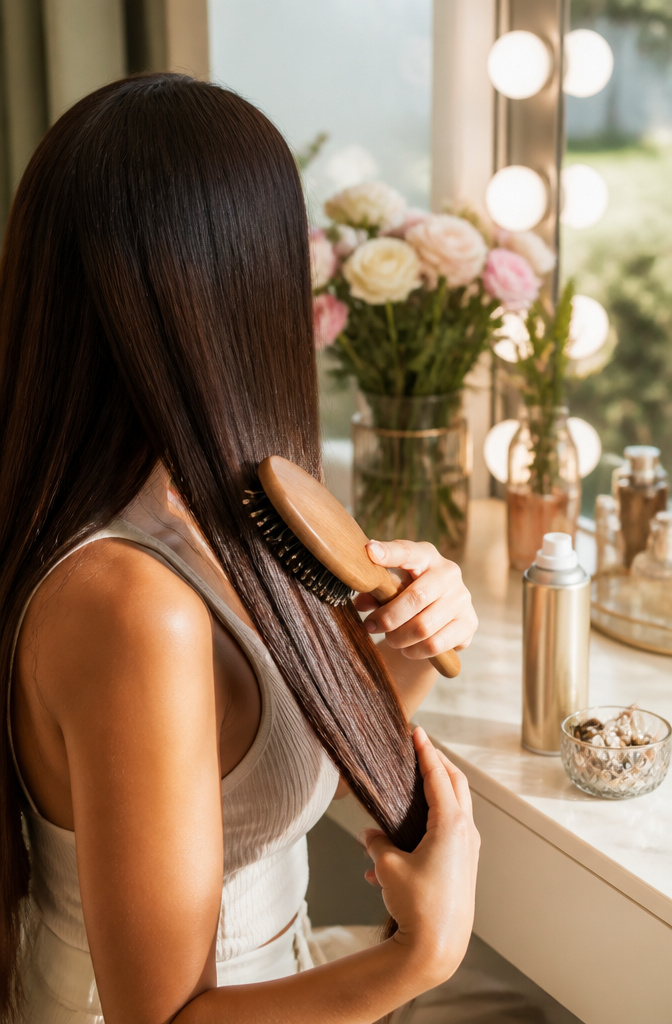
- Let the hair cool completely before adding anything. Heat opens the cuticle, so product applied too soon can sizzle on the surface and cause frizz instead of fighting it. A boar-nylon brush sprayed lightly with hairspray, then combed through, gives even coverage without the sticky or stiff feeling you get from spraying directly.
- A smoothing serum seals the cuticle and adds shine that straightening alone won’t give. Look for something lightweight; too much product after straightening turns sleek into greasy fast. One or two drops warmed between your palms, worked through mid-lengths to ends, is usually plenty.
- If humidity is the enemy where you live, a light-hold hairspray can extend the style. The same brush-spritz-comb method keeps application thin and uniform. Skip anything heavy; you already put in the work with the iron, and the goal now is to lock it in without weighing it down.

<br/>1. Soft and absorbent material :This microfiber hair towel is made of high quality microfiber fabric material ,extremely soft and super absorbent , quick-dry your hair ,machine washable.

SIZE:20 X 40 inches 50 X 100cm microfiber hair towel wrap perfect for all types of hair. fabric to gently and quickly wick water from hair , in the most efficient and healthiest way possible.Separate package

Dries Hair Quickly: Hair towel is made of super absorbant microfiber fabric, fast absorbing for quick hair dry. Microfiber hair towel absorbs a lot of the water from hair which cuts the drying process in half. This makes hair routine go faster.
Heat Temperatures by Hair Type
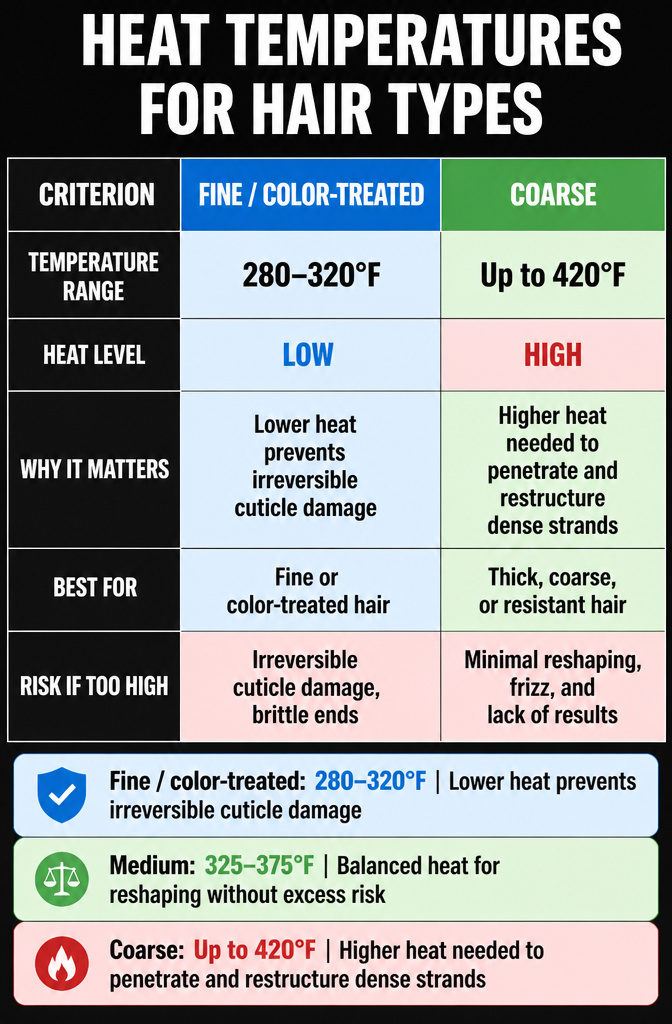
Fine hair straightens at temperatures that would fry coarser strands. The cuticle on fine hair is thinner, so heat penetrates faster and causes irreversible damage before you’ve even finished a section. 280–320°F is the safe zone for fine or color-treated hair, and I’d rather run the iron over a section twice at the lower heat than crank it up and watch the ends turn brittle.
Medium texture sits in the middle at 325–375°F. That range gives enough heat to reshape the strand without pushing into the danger zone.
Coarse hair needs the most aggressive temperature, up to 420°F max, because the thicker cuticle and denser cortex resist heat transfer. Without that push, the bonds won’t break and re-set straight.
| Hair Type | Temperature Range | Why It Matters |
|---|---|---|
| Fine / color-treated | 280–320°F | Lower heat prevents irreversible cuticle damage |
| Medium | 325–375°F | Balanced heat for reshaping without excess risk |
| Coarse | Up to 420°F | Higher heat needed to penetrate and restructure dense strands |
The mistake I see most often is treating the max setting as a shortcut. It isn’t. Match the temperature to your hair type and you’ll get the sleek finish without the fried aftermath.

Free of harsh alcohols found in typical blow-dry sprays stronger hair. Less heat. Less time. Wow results

HEAT PROTECTION: Shields hair from high-heat styling tools up to 450°F while preventing heat damage and breakage for smoother, stronger strands with every blow-dry, curl, or flat-iron use.

Humidity and Staying Straight

Straightened hair reverts in humidity because moisture sneaks back into the shaft and reactivates whatever natural wave or curl pattern you started with. The fix is simpler than fighting the weather: a lightweight anti-humidity serum applied to dry, finished hair creates a barrier that slows the process without weighing everything down. On days when the air feels thick enough to swim through, I skip the outdoor exposure unless I have to, or I pull it under a hood or loose silk wrap for the walk.
If a few pieces around the hairline or nape start to kink up by afternoon, touch up only those sections rather than running the iron over the whole head again. Spot-straightening the trouble areas takes thirty seconds and saves the rest of your length from unnecessary heat. A dab of smoothing cream on the ends afterward keeps the finish consistent, though I keep it minimal: too much product after straightening turns sleek into greasy faster than humidity ever could.

3.3 Inch Large Round Brush for Long Hair:With an overall diameter of 3.3 inches (including bristles) and 2.1 inch is barrel diameter, this large round brush is ideal for women with long hair around chest. It’s perfect for creating a voluminous blowout and soft, smooth hair

CERAMIC BARREL: This innovative round brush has a thermal ceramic 2 inch barrel that evenly distributes heat, which means faster drying time, when your hair dries faster, it’s exposed to less heat and stays healthier

Natural Volume Round Hair Brush: AIMIKE proudly introduces the new NaturaVol Round Brush, designed for customers looking for naturally voluminous hair. This round brush for blow out not only speeds up drying time and provides a smooth, glossy finish but also effortlessly delivers soft, natural-looking volume and styling results
Keeping It Healthy Long-Term
Straight hair shows damage faster than curls do, so trims every 4–6 weeks are non-negotiable if you want to keep the style long-term. Split ends travel up the shaft faster on straightened hair, and once they start, no amount of oil fixes the breakage.
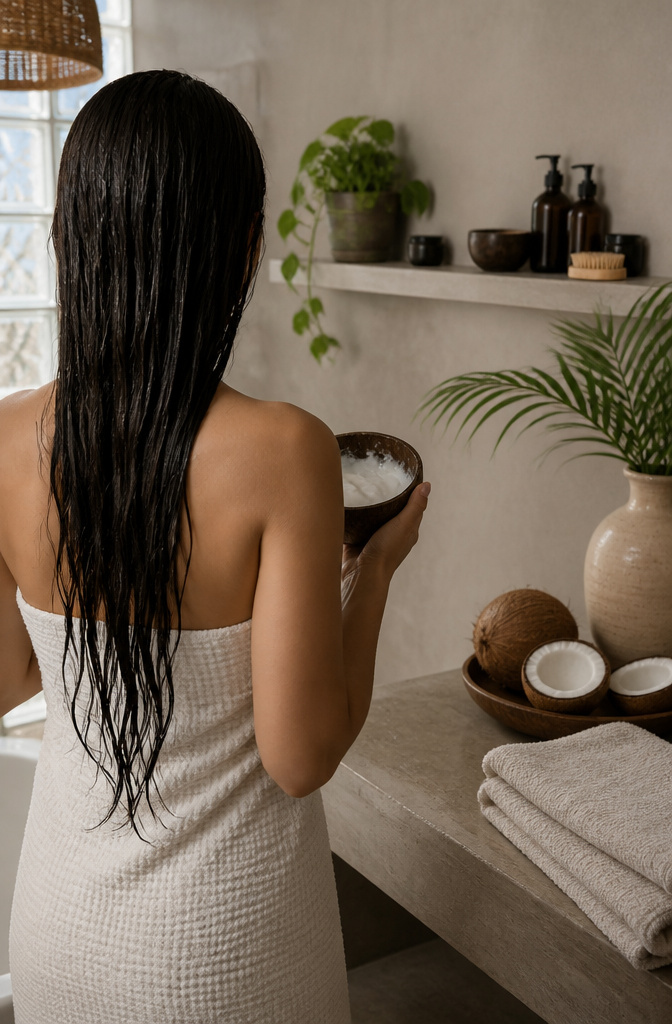
Between salon visits, a weekly moisturizing mask keeps the moisture balance in check, especially after a heat session. I like to prep with a milk mask when my hair feels particularly parched. Coconut milk works best for this, left in like a conditioner for about 10 minutes before rinsing and letting it dry naturally. The heavier the milk, the more smoothing benefit you get, though this trick tends to work better on wavy textures than on tight curls.
Your pillowcase matters more than you’d think. Cotton creates friction that leads to frizz and bed head by morning, so switching to silk or satin reduces the damage your hair takes while you sleep.

FAST, HIGH-HEAT STRAIGHTENING FOR MEDIUM-TO-LONG HAIR — The Nano Titanium straightener heats instantly and reaches up to 450°F, delivering consistent heat that smooths more hair with every pass for faster straightening and smoothing on medium-to-long hair, including thicker, coarser textures.
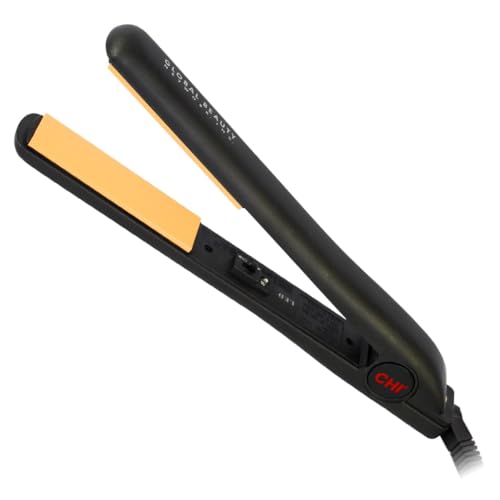
PROFESSIONAL STYLING: 1″ ceramic floating plates deliver even heat for smooth straightening, curls, flips, waves, and polished looks for all hair types.

Glide & Style with Precision: Our ultra-slim straightener features .5" plates, perfect for precise styling on bangs and short hair, ensuring an effortlessly sleek salon finish in the comfort of your home.
How Often Is Too Often
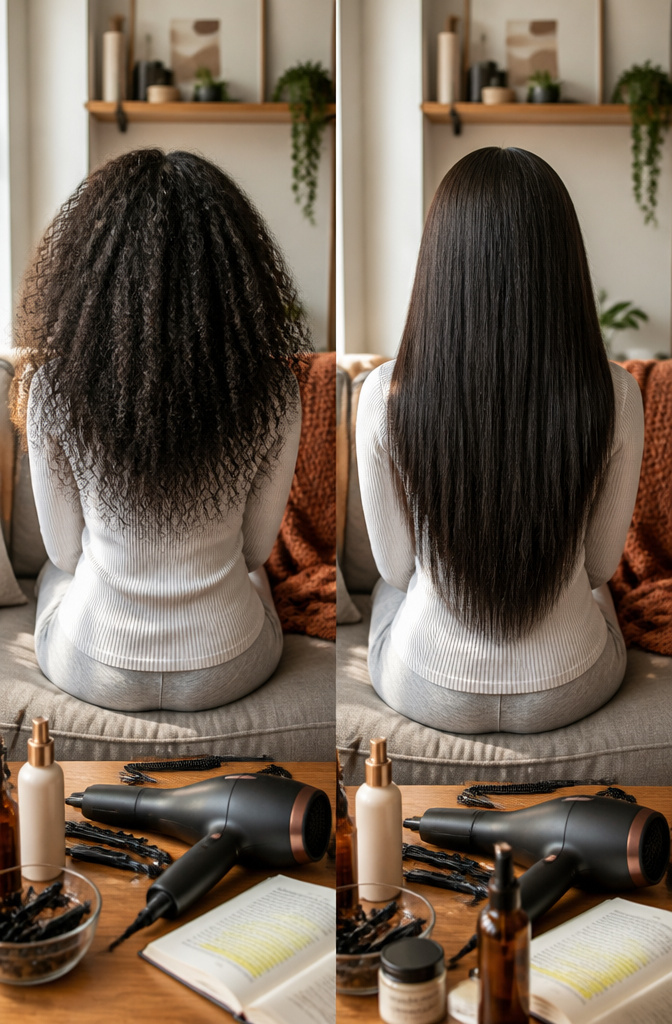
Daily heat styling doesn’t give your hair a chance to recover. The damage stacks up quietly: protein weakens, moisture escapes, and eventually the strand snaps where it’s been stressed most. Two to three straightening sessions a week is the ceiling for most hair, and even that assumes you’re starting with clean, heat-protected strands every time.
Between those sessions, no-heat methods buy you time. A cold-air blow-dry on the lowest setting, with the dryer kept moving from root to tip, can stretch waves without the same toll. Wrapping damp hair taut with satin pins and a scarf overnight gives a smoother finish by morning, especially if you section the top layers flat against your head first.
Protective styles matter too. The days after a full straightening pass are when your hair is most vulnerable, so braids, buns, or pinned-back looks aren’t just easier on your schedule. They’re part of how the strand rebuilds what heat took out.
Frequently Asked Questions
Can I straighten my hair every day?
Two to three times a week is the ceiling for most hair. Daily heat styling stacks up damage quietly as protein weakens, moisture escapes, and strands eventually snap where they are stressed most. Between sessions, no-heat methods such as wrapping, banding, or using a cold-air blow-dryer on the lowest setting can stretch waves without the same toll.
How do I keep naturally curly hair straight without heat?
Use wrapping, rolling with jumbo plastic rollers, or banding on damp hair and let it dry completely before removing any clips, rollers, or bands. Even slight moisture reactivates curl, so patience matters. A silk scarf or satin bonnet overnight helps preserve the style and prevents friction from turning smooth into frizz.
What is the best no-heat method to straighten hair?
Jumbo plastic rollers work best for coarser, curlier textures because they give the most smoothing and structure. For finer or wavy hair, wrapping overnight or the banding method stretches strands effectively. Choose larger rollers for straighter results and smaller ones if you want to keep some curve.